Frequently Asked
Learn More About The Most Popular Phone Brands 📱
Learn more about the top smartphone brands on the market right now so you can make a better decision with your next phone…
Learn All About Apple’s iPhone
Apple is the most popular brand in the world and its iPhone is the reason why. Learn all about the latest models, technological advances, new features and the different models.
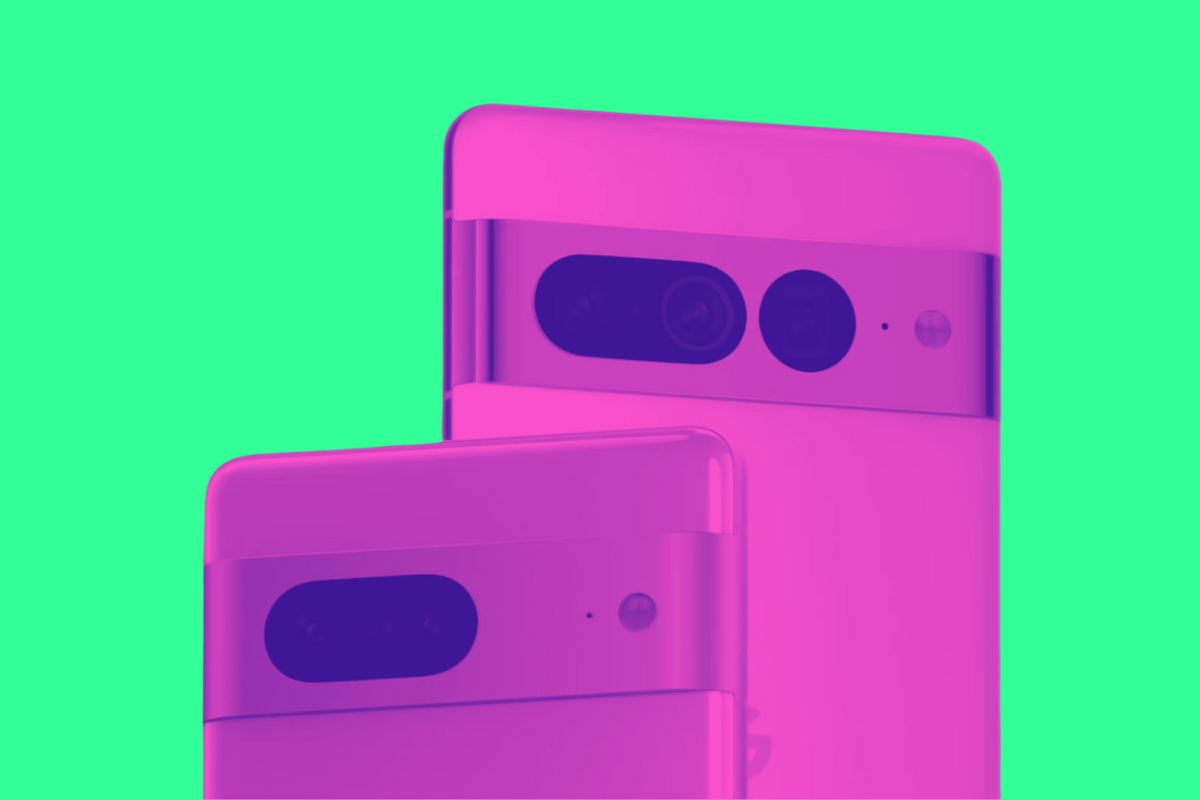
Get Acquainted With Google’s Pixel Phones 🤖
From powerful AI capabilities to regular software updates, find all the essential information and insights on the Google’s latest Pixel phone lineup – from its budget A series to its mainline Pixels and foldables.
Learn All About Samsung’s Latest Phones 🤳
Discover all the latest Samsung phone models, explore new features, and stay updated on technological advancements. From flagship releases to mid-range and budget options, find detailed information and comparisons on the diverse Samsung lineup.
Is A OnePlus Phone A Good Option For You? ⚡
Explore the latest OnePlus phone models, uncover new features, and stay informed about technological innovations. Whether you’re looking for a flagship killer or a budget-friendly option
Latest Xiaomi Phones
Cheap, affordable, high-end specs. Xiaomi phones are popular with budget-conscious Android fans. And there’s flagship models too.
LEARN MORE
→
Latest Motorola Phones
Motorola is the USA’s #1 budget phone brand. If you want something cheap and cheerful, say hello to Moto…
LEARN MORE
→
Latest OPPO Phones
Criminally underrated, OPPO is a hugely innovative brand. From its foldable phones to its camera tech, it is one of best in the biz.
LEARN MORE
→
Which Phones Are Best For Android Updates?
Android updates vary by brand, and some are much better than others. Updates are important, so make sure you know which brands are best for Android updates.
How Long Does Apple Support iPhone?
iPhones are known for their timely iOS updates (unlike their Android-powered counterparts). But how many do you get and how long does each model last for?
🤔 Need Help Choosing Your Next Phone?
Join our thriving community and get direct access to the team




![Which iPhones Have OLED Screens? A Quick Guide… [2024 Edition] Which iPhones Have OLED Screens? A Quick Guide… [2024 Edition]](https://www.knowyourmobile.com/wp-content/uploads/2020/10/which-iphones-have-oled-displays.png)






![iPhone Camera Modes: A Beginner's Guide [2023 Edition] iPhone Camera Modes: A Beginner’s Guide [2023 Edition]](https://www.knowyourmobile.com/wp-content/uploads/2023/05/iPhone-Camera-modes.jpg)
![Best VPN For Xiaomi Phones [2024]: The Fastest & Safest Options Best VPN For Xiaomi Phones [2024]: The Fastest & Safest Options](https://www.knowyourmobile.com/wp-content/uploads/2024/03/Best-VPN-For-Xiaomi-Phones.png)




![Apple Watch Ultra Compatibility: Which iPhones Can It Be Paired With? [2024 Guide] Apple Watch Ultra Compatibility: Which iPhones Can It Be Paired With? [2024 Guide]](https://www.knowyourmobile.com/wp-content/uploads/2023/03/Apple-Watch-Ultra-compatibility-guide.png)
![Which iPhones Have 5G? A Simple Guide... [2024 Edition] Which iPhones Have 5G? A Simple Guide… [2024 Edition]](https://www.knowyourmobile.com/wp-content/uploads/2022/03/iPhone-5g-which-models.png)

![Which iPhones Have MagSafe? A Complete Guide… [2024 Edition] Which iPhones Have MagSafe? A Complete Guide… [2024 Edition]](https://www.knowyourmobile.com/wp-content/uploads/2021/09/magsafe-2024.png)
![[SOLVED] The 9 Most Common Amazon Fire Stick Problems [SOLVED] The 9 Most Common Amazon Fire Stick Problems](https://www.knowyourmobile.com/wp-content/uploads/2023/12/Amazon-Fire-Stick-Problems-Solved.png)


