
How To Use Google Photos: The Ultimate Beginner’s Guide
📸 Google Photos Guide Google Photos On iPhone vs Android — What’s Actually Different? Google Photos is basically the same app on…
Read more →KnowYourMobile guides
Read expert guides on how to use mobile phones – from Apple’s iPhone to Samsung phones, as well as other major Android phones from brands like Huawei, OPPO, OnePlus, RealMe, VIVO, and more. We also cover tablets, how to use apps and software, and the best tips and tricks for using technology in general.
The newest and most useful posts from this section.
📸 Google Photos Guide Google Photos On iPhone vs Android — What’s Actually Different? Google Photos is basically the same app on…
Read more →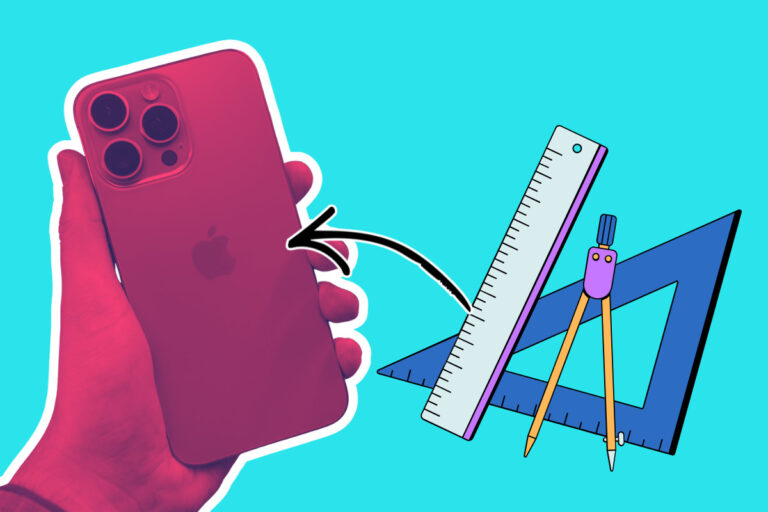
📐 iPhone Size Guide 2026 How Big Are iPhones In 2026? Here’s How It All Breaks Down, From Biggest to Smallest iPhones…
Read more →
TL;DR… 256GB is enough storage for most iPhone users in 2026. I like to think of it as the new baseline for…
Read more →User Guides articles, guides, reviews, and updates.
TL;DR: What’s The Best Pixel Phone Size For Me? Google’s Pixel range spans from a compact 6.1-inch to a sprawling…
Read more →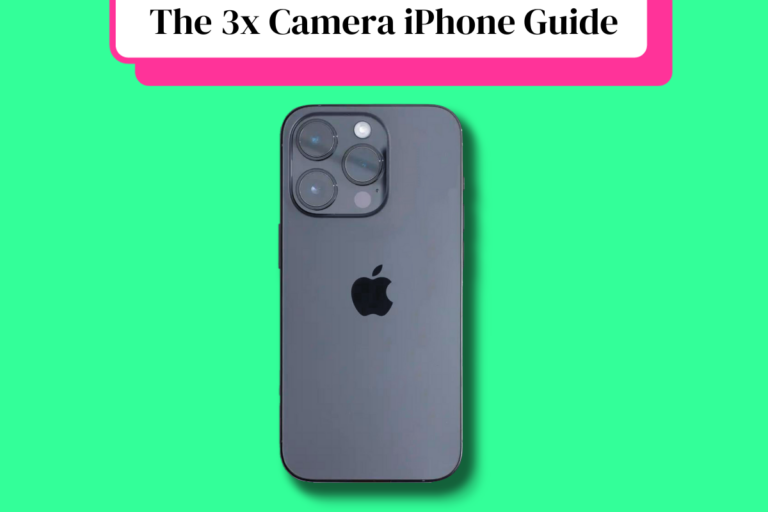
Every refurbished iPhone with three cameras is a Pro or Pro Max model. The triple-lens system pairs a telephoto lens…
Read more →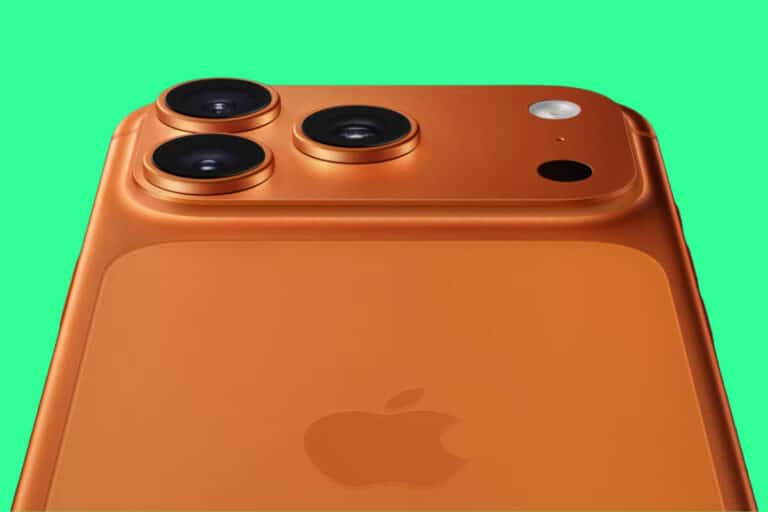
Which iPhones Have 5G? Every iPhone from the iPhone 12 (2020) onwards supports 5G. That includes every model in each…
Read more →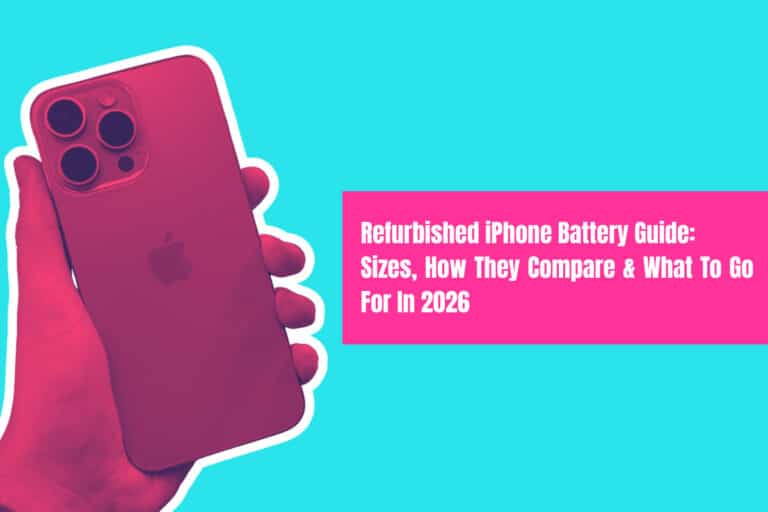
Which Refurbished iPhone Has The Best Battery Life? Best overall battery: iPhone 15 Plus The refurbished iPhone 15 Plus is…
Read more →
TL;DR – Steps You Need To Take To Get a Free Government iPhone Want a free iPhone? It’s possible if…
Read more →
Apple makes three versions of the Apple Pencil, and each works with a different subset of iPads. The compatibility rules…
Read more →
Which iPhones Have OLED Screens? Here’s The 2026 Low-Down… All modern iPhones use OLED displays but not all OLED is…
Read more →
If you want to get the best performance out of your iPhone 16 Pro Max camera, you NEED to know…
Read more →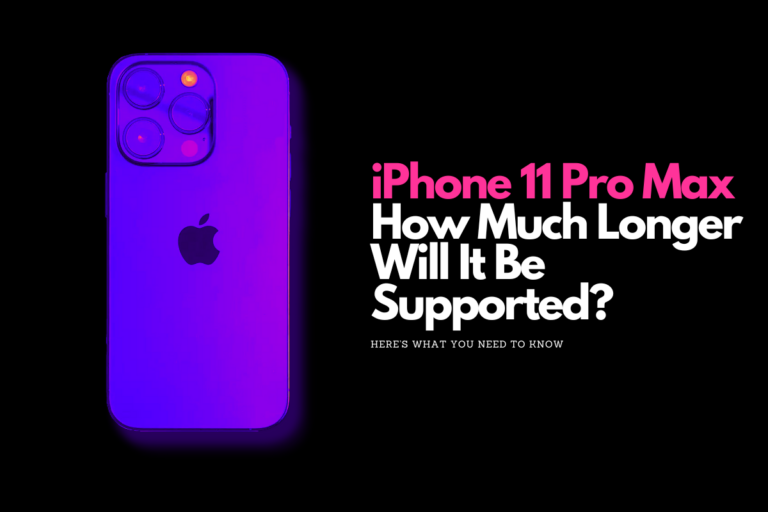
Why The iPhone 11 Pro Max Was Discontinued When Apple released the iPhone 12 series in September 2020, both the…
Read more →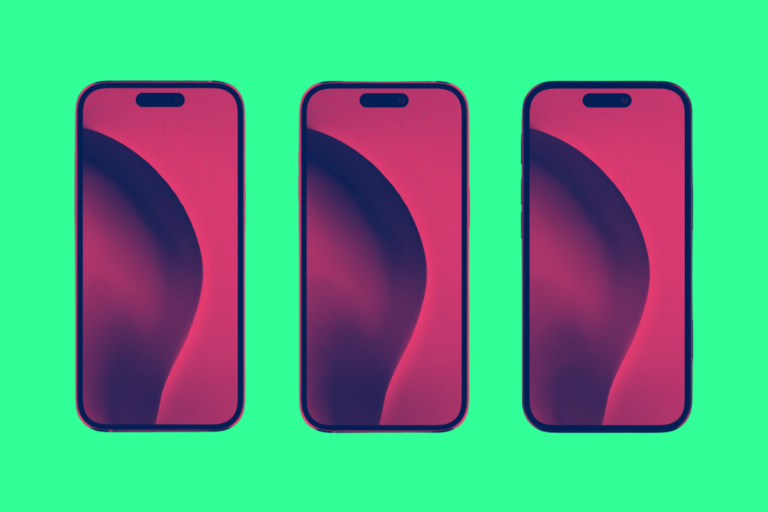
When choosing an iPhone, the most important question is not how much it costs today but how long it will…
Read more →
Whether you need an offline library for your commute or audio for a personal project, we’ve tested the top YouTube…
Read more →If you’re looking to save big on your next smartphone purchase, refurbished phones are the way to go. They’re tested,…
Read more →
Spam texts used to be a minor annoyance; now they’re a full-time nuisance – and in many cases, a security…
Read more →
Unexpected things happen, so it’s always a better idea to be prepared. As an Apple device owner, the best you…
Read more →
If you want to get the best performance out of your Samsung Galaxy S24 Ultra’s camera, your going to need…
Read more →
This Emoji meaning guide will show you emoji meaning to communicate your feelings and emotions in the right way… Emojis…
Read more →
Here’s everything you need to know about how long your iPhone 13 will get updates for… The iPhone 13 Is…
Read more →
iPhones can shoot pictures in RAW format but Apple’s take on it is slightly different – it uses something called ProRAW.…
Read more →![Apple Watch Ultra Compatibility: Which iPhones Can It Be Paired With? [2024 Guide]](https://www.knowyourmobile.com/wp-content/uploads/2023/03/Apple-Watch-Ultra-compatibility-guide-768x512.png)
A guide to help users determine whether their existing iPhone or iPad is compatible with the Apple Watch Ultra and…
Read more →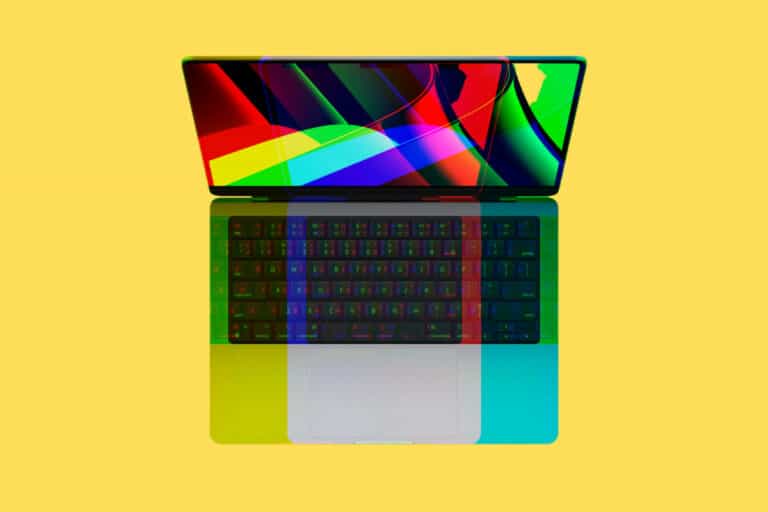
Which MacBooks have ProMotion displays? Here’s a handy guide to all the MacBooks that currently come with ProMotion displays… Apple’s…
Read more →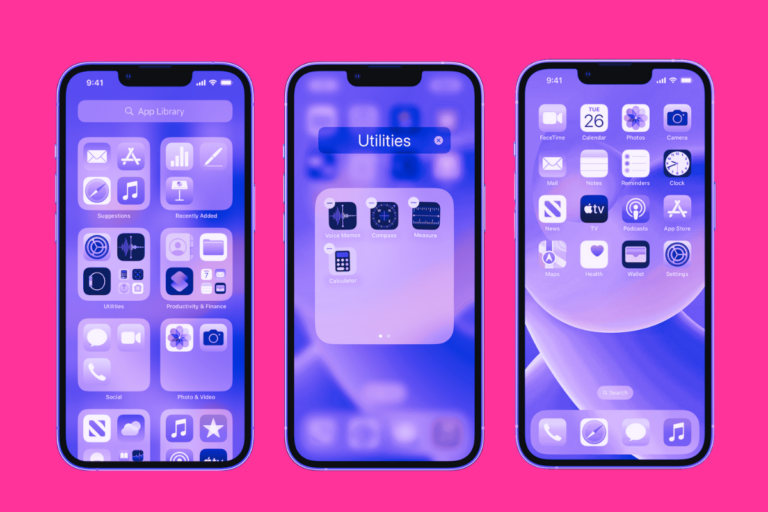
Have a messy iPhone home screen? Here’s how to clean up the app clutter: organize iPhone apps using these tips!…
Read more →
If you’ve just bought your first iPhone – or any Apple product – you might be wondering what Apple ID is? Here’s…
Read more →
Apple’s iOS platform has been around for a good long while now, but people have no idea what it means.…
Read more →
A quick and simple guide on how to set up your iPhone’s personal hotspot and pair it with another mobile…
Read more →
From its launch in 2011 on the iPhone 4s, Siri has evolved massively. In this guide, we’ll provide you with…
Read more →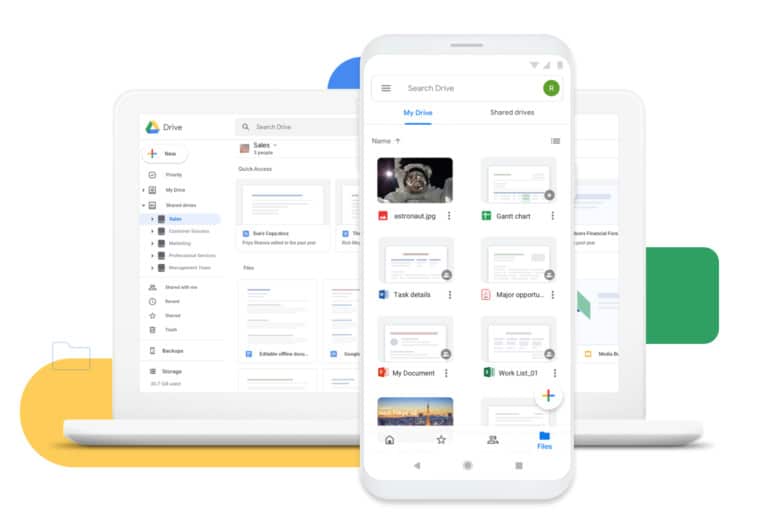
Google Drive is a complete, cloud-based productivity suite. It includes a word processor, spreadsheets, a presentation tool, and, of course,…
Read more →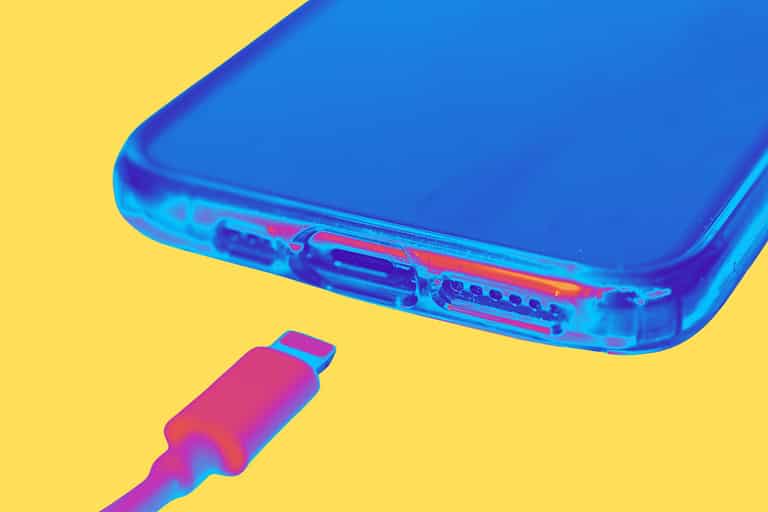
Your guide to cleaning the charging ports on your iPhone and Android devices. If you’ve owned a smartphone long enough…
Read more →
In this AirPods buying guide, we’ll detail everything you need to know about Apple’s AirPods, including all the different models,…
Read more →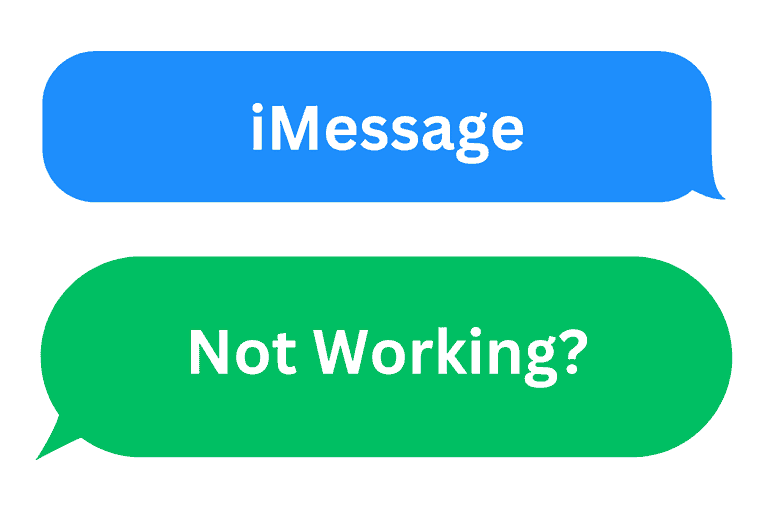
Sometimes iMessage doesn’t work properly. In this guide, we’ll show you how to fix iMessage’s most common problems, issues, and…
Read more →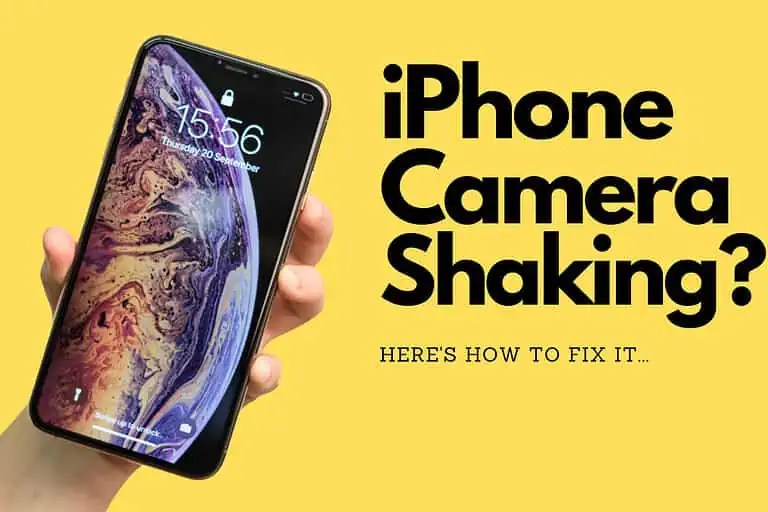
Why is my iPhone camera shaking? It’s not ideal but it is actually quite a common thing. In this guide,…
Read more →
Your smartphone – whether Android or an iPhone, new or slightly older – has an amazing camera inside it. In this guide,…
Read more →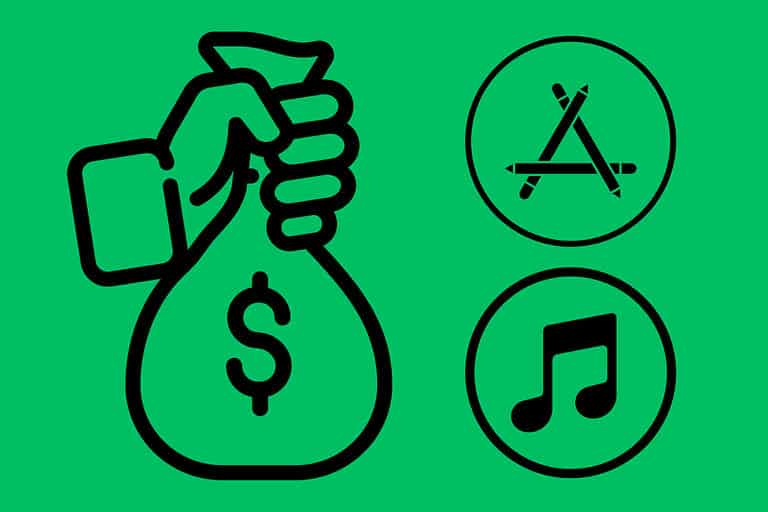
Apple does give refunds on app and content purchases under certain conditions. Here’s how to get your iTunes and App…
Read more →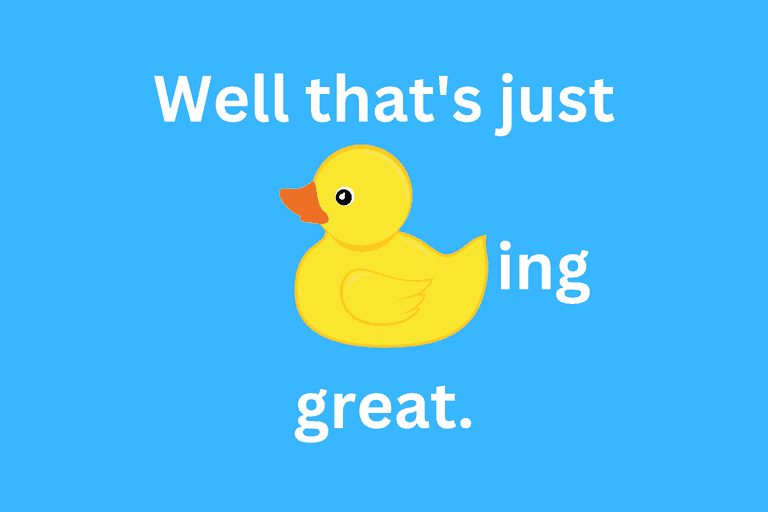
One of the most frustrating experiences on the iPhone is the autocorrecting of a certain word to “ducking.” Here’s how…
Read more →
Here’s why and what to do when Apple Pay asks you to pay with a passcode… “Why Does Apple Pay…
Read more →
Every single iPhone ever created has an individual IMEI code; it’s kind of like a fingerprint. And this is how…
Read more →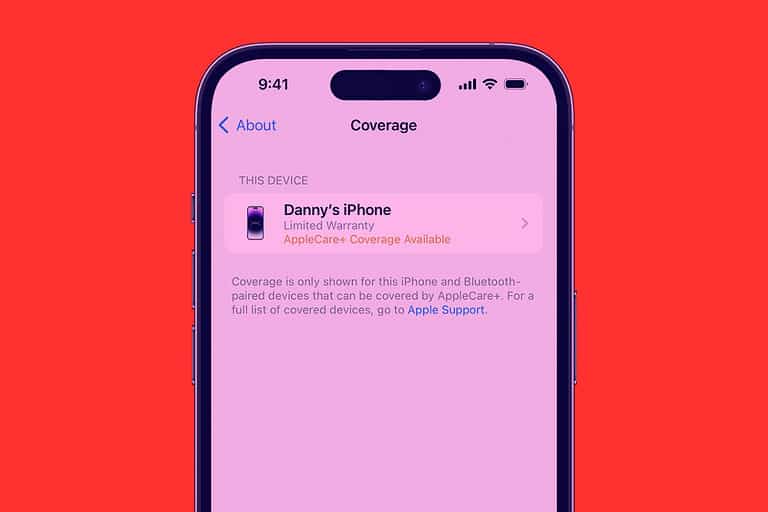
You can use your iPhone to see if it’s still under warranty – and check the Apple warranty for other Apple…
Read more →
Want to select an entire page of text on your iPhone? Not sure how? Here’s how you select all on…
Read more →
There are many games that are exclusive to the Nintendo Switch, which many viewers are wanting to watch on Twitch…
Read more →
Apple makes a bunch of iPads these days, and they’re all slightly different with respect to size, dimensions, specs, and…
Read more →
If your iPad is dead and not responding, all is not lost. You can, potentially, fix a dead iPad by…
Read more →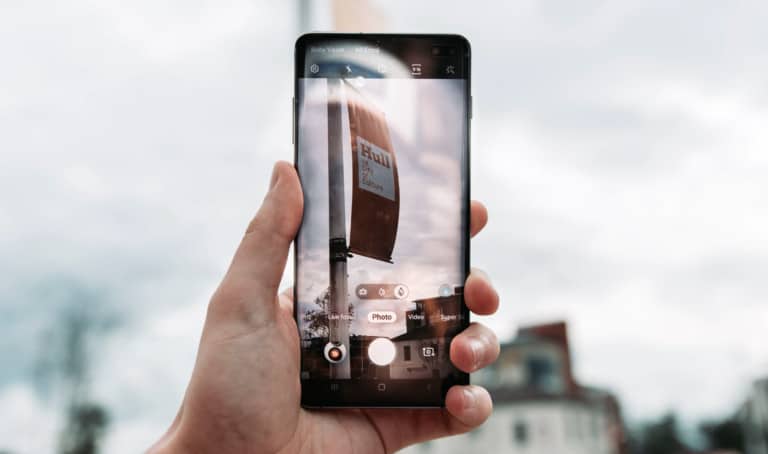
Samsung’s Siri and Google Assistant alternative is called Bixby, it ships on some Samsung phones, and it hasn’t exactly earned…
Read more →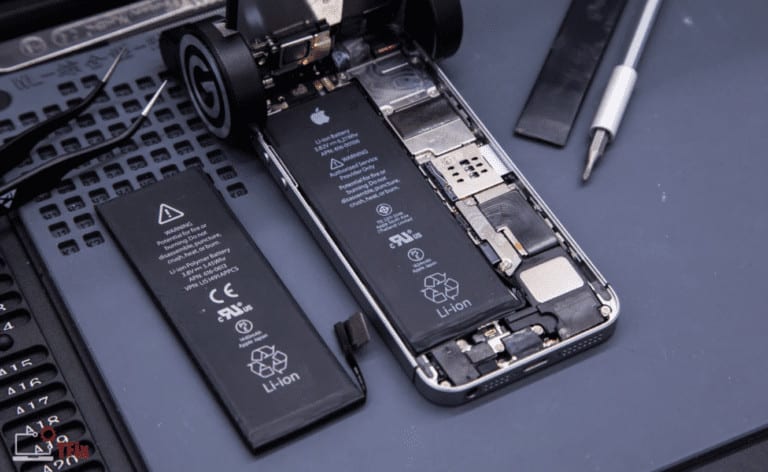
Wondering how long iPhone batteries actually last? You’ve come to the right place! The iPhone is a magnificent device that…
Read more →
Ever wonder how to use Find My iPhone? Here’s a quick and simple guide to Find My iPhone – Apple’s…
Read more →
Have you been using Tinder for a while now to no avail? Some users are experiencing issues with uploading and…
Read more →
In this guide, we’ll show you some seriously ACTIONABLE tips that will save you money when the time comes to…
Read more →
[ss_click_to_tweet tweet=”Find out EXACTLY which devices are using your Google account. Are they all yours? If so, great. If not,…
Read more →
What phones did Apple release in 2019? In this guide, we’ll show you all the iPhones released in 2019 Apple…
Read more →
I learned this lesson the hard way, and it took me HOURS to get rid of all the condensation inside…
Read more →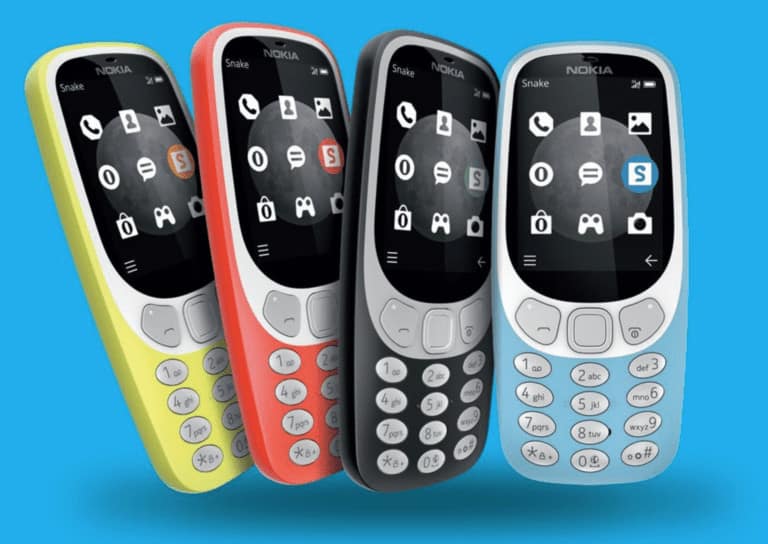
Remember the Nokia 3310? Well, you can now download its classic ringtones and text message alerts for modern smartphones. We’ll…
Read more →
In this post, we will answer the question – what does the Apple iPhone warranty include? When you purchase a…
Read more →
If you’re using Chrome or Safari, even in Private/Incognito mode, your data is being logged and recorded. If you want…
Read more →
Restore iPhone? Reset iPhone? What’s the difference? Glad you asked because there IS a difference – and it pays to…
Read more →
Is your iPhone waterproof? Most likely. But the degree to which it can withstand water will vary based on what…
Read more →
[ss_click_to_tweet tweet=”When it comes to choosing the best iPhone 7 color, you have quite a few options to choose from…
Read more →