
4 Epic Google Pixel 10 Pro Alternatives You Can Pick Up For Way Less In 2026
📱 Pixel 10 Pro Alternatives The Best Pixel 10 Pro Alternatives — All Available Refurbished Right Now The best alternatives are the…
Read more →Phone buying advice
Phone guides, comparisons, and buying advice designed to help you find better value, especially if you are considering refurbished.
The newest and most useful posts from this section.
📱 Pixel 10 Pro Alternatives The Best Pixel 10 Pro Alternatives — All Available Refurbished Right Now The best alternatives are the…
Read more →
📱 Refurbished Galaxy Z Fold5 Guide How Much Does A Refurbished Galaxy Z Fold5 Cost? A refurbished Galaxy Z Fold5 typically sells…
Read more →
📱 Refurbished Galaxy S23 Guide How Much Does A Refurbished Galaxy S23 Cost? A refurbished Galaxy S23 is one of the most…
Read more →Phones articles, guides, reviews, and updates.

📱 Refurbished Galaxy S24 Guide How Much Does A Refurbished Galaxy S24 Cost? A refurbished Galaxy S24 costs a fraction…
Read more →📱 Refurbished Pixel 9 Guide How Much Does A Refurbished Pixel 9 Cost? A refurbished Pixel 9 costs a fraction…
Read more →
📱 Refurbished iPhone 16 Guide How Much Does A Refurbished iPhone 16 Cost? A refurbished iPhone 16 costs less than…
Read more →
🎨 iPhone 15 Color Guide TL;DR: iPhone 15 Colors — Does It Actually Matter Which One You Pick? The iPhone…
Read more →
⚖️ iPhone Weight Guide How Heavy Are iPhones? Lightest vs Heaviest — And What It Means For You The lightest…
Read more →
Refurbished Phones Explained What Does Refurbished Mean When It Comes To Phones? Refurbished means a phone was used, then fully…
Read more →
⚠️ Buyer Warning — 2026 The iPhone 11 Is No Longer Worth Buying — Here’s Why The refurb market is…
Read more →
Know Your Mobile · TL;DR Reliability Guide What’s The Most Reliable Refurbished Phone Brand? If you want the easy life…
Read more →
Know Your Mobile · TL;DR Video Creators Guide Is 512GB on iPhone Enough For Video Creators? 512GB gets the job…
Read more →
What’s The Best Refurbished Foldable Phone To Buy Right Now? Foldable Phone Price You Save Samsung Galaxy Z Fold6 256GB…
Read more →
TL;DR: The Cheapest Samsung Phones That Support Galaxy AI (My Picks For 2026) Galaxy AI is Samsung’s suite of on-device…
Read more →The vast majority of people buy Samsung’s Galaxy A phones because they’re more affordable. Flagship phones from Samsung (like all…
Read more →
There’s no nice was of saying this: the iPhone 13 mini has terrible battery life. And by terrible, I mean:…
Read more →
TL;DR – Here’s How Much You Can Save on a Flagship Smartphone By Buying Refurbished You can save anywhere from…
Read more →
TL;DR – Which iPhones Have Dual SIM? (And Which Refurbished Models Are Worth Buying) Every iPhone released since 2018 supports…
Read more →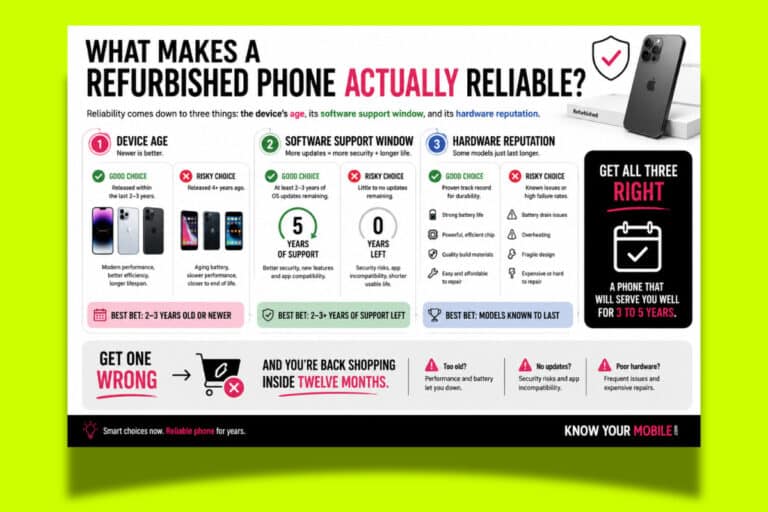
TL;DR – How To Find Reliable Refurbished Phones The best place to find reliable refurbished mobile devices is a vetted…
Read more →
TL;DR – How To Never Pay Full Price For An iPhone Again The simplest way to buy iPhones for less…
Read more →
The best $500 iPhone right now is a refurbished iPhone 15 Pro Max. Nothing else comes close. It’s a killer…
Read more →
The Samsung Galaxy S25 Ultra is here and, to be frank, it isn’t exactly the update we’ve been waiting for.…
Read more →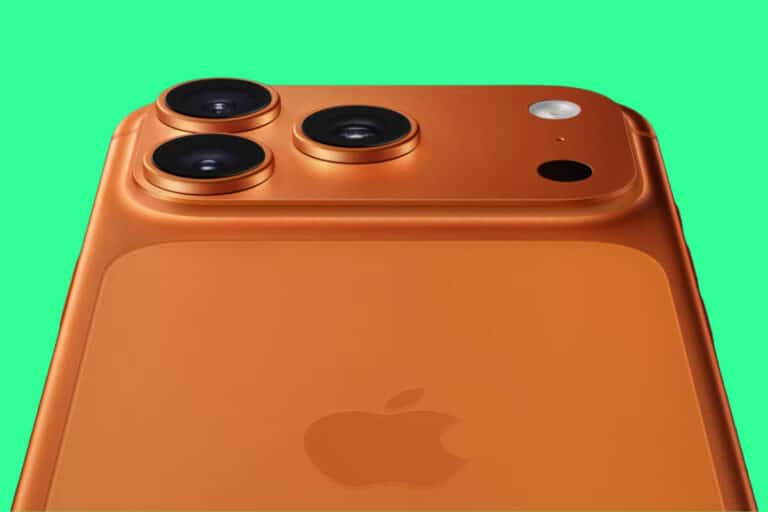
TL;DR – What’s The Best Unlocked Refurbished iPhone To Buy Right Now? The best unlocked refurbished iPhones right now are…
Read more →
TL;DR: Is Refurbished Samsung Galaxy S24 Ultra Worth Buying? The refurbished Samsung Galaxy S24 Ultra is a genuinely excellent phone.…
Read more →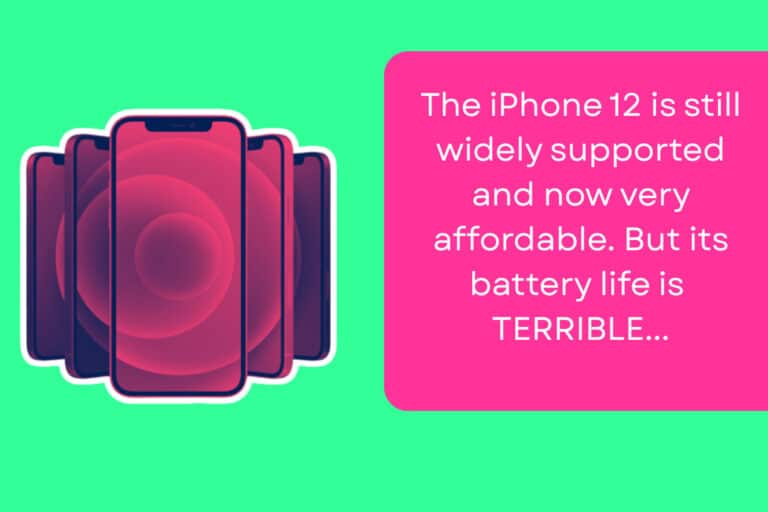
The iPhone 12 was a massive milestone for Apple, reintroducing the flat-edge design and bringing 5G to the masses. You…
Read more →
Why the Refurbished iPhone 14 Pro Max Is Worth Your Attention Right Now The refurbished iPhone 14 Pro Max remains…
Read more →TL;DR: What’s The Best Refurbished Android Phone Under $300? The best Android phones under $300 right now aren’t the new…
Read more →
The Setup I used both phones as my daily driver across a working week. Same SIM, same apps, same commute,…
Read more →
TL;DR – Which Refurbished Phone Has the Best Variable Refresh Rate (VRR)? The iPhone 16 Pro wins on battery efficiency,…
Read more →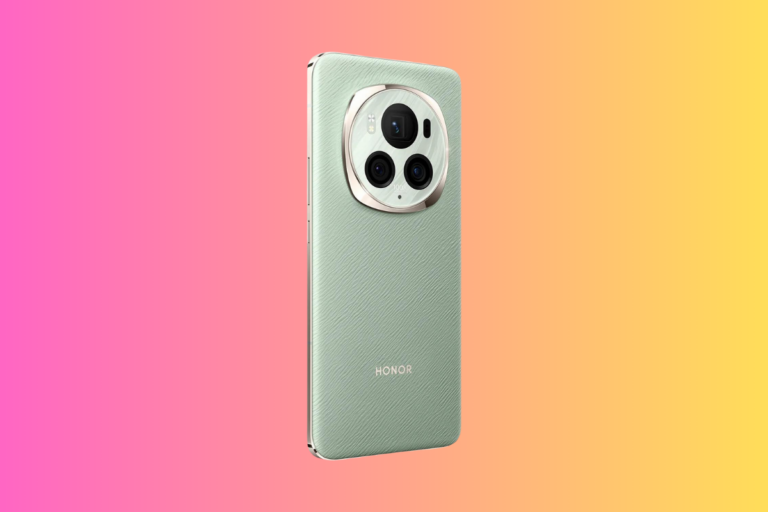
Honor phones look like a bargain until you factor in what you’re actually giving up. A refurbished iPhone 15, Pixel…
Read more →
TL;DR – How Long Will My Refurbished Phone Last? Refurbished phones typically last three to five years from purchase, but…
Read more →
TL;DR: Should You Buy A 5-Year-Old iPhone? The iPhone 13 was released five years ago and it is still perfectly…
Read more →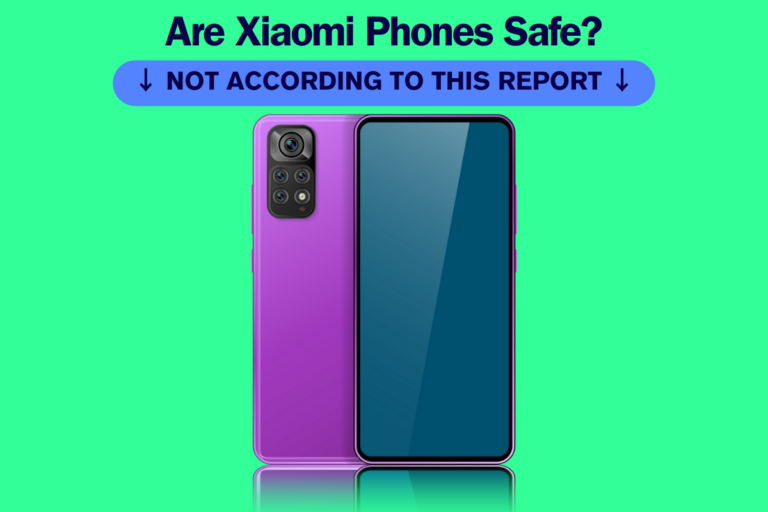
Xiaomi phones look tempting on paper: flagship-level specs at budget-friendly prices. But for most buyers who want a phone that…
Read more →
A refurbished iPhone 17 Pro Max in Cosmic Orange costs only marginally less than buying new right now. The device…
Read more →
Why the Refurbished iPhone 15 Pro Max Is Worth Your Attention Right Now If you’ve been browsing best refurbished phones…
Read more →
The Quick Picks Category Pick Best For Best Overall iPhone 15 Most people — value, longevity, simplicity Best Camera/Video iPhone…
Read more →
TL;DR — Which Storage Should You Buy? User Type Minimum Sweet Spot Best Pick Light user (calls, WhatsApp, browsing) 128GB…
Read more →
Samsung’s refurbished lineup spans 6.1 to 7.6 inches across four distinct form factors: standard slabs, Plus models, Ultra flagships, and…
Read more →
USB-C on iPhone changes what your phone can do. It’s way more accessible, from an accessories point of view, than…
Read more →Google’s Pixel range is one of the most compelling propositions in the refurbished market — on paper. Long software support…
Read more →
Refurbished phone grades are primarily a cosmetic shorthand; they describe external wear, not whether a phone actually works. Every grade…
Read more →
TL;DR: The Many, Many Benefits of Buying Refurbished Phones… Refurbished phones are absolutely worth it, providing you buy them through…
Read more →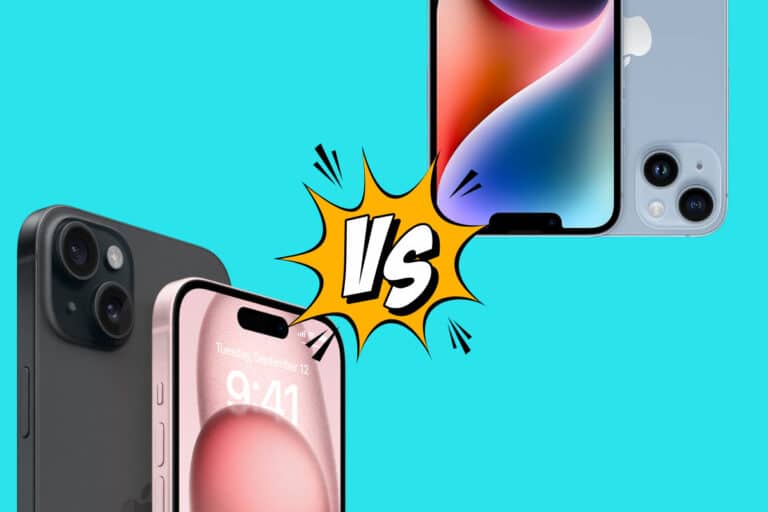
TL;DR: Should You Buy a Refurbished iPhone 15 or iPhone 14 in 2026? If you’re going for freshness and longevity…
Read more →TL;DR: Is The iPhone 15 Pro Max a Better Refurbished Phone Than Google’s Pixel 9 Pro XL? My advice on…
Read more →
TL;DR – And The Best Time To buy a refurbished phone Is… The best time to buy a refurbished phone…
Read more →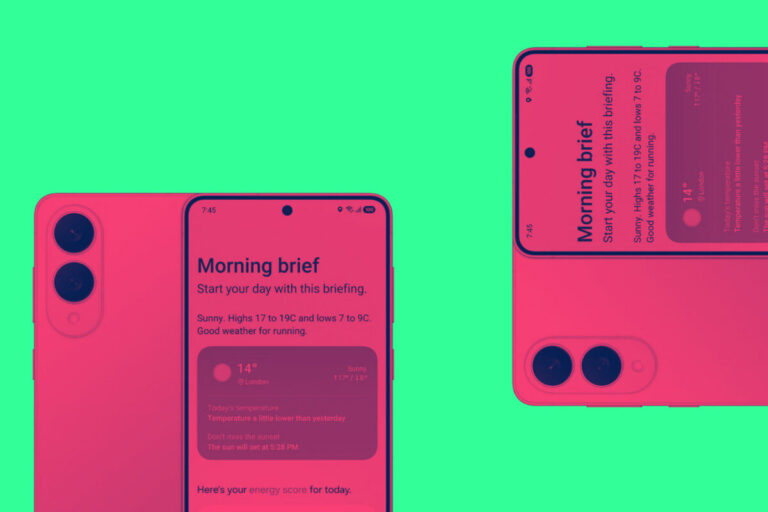
TL;DR A quality refurbished phone from a reputable seller will typically give you 2–4 years of solid, daily use —…
Read more →Are Refurbished Phones More Likely To Get Viruses? Yes, refurbished phones can have malware but the risk depends entirely on…
Read more →TL;DR A refurbished phone is safe for banking if it’s a still-supported model, properly wiped, purchased from a certified refurbisher,…
Read more →
Yes, refurbished phones can be hacked or harbor spyware but so can brand-new devices. The real risk isn’t the “refurbished”…
Read more →
Should You Buy a Xiaomi Phone in 2025? If you want flagship-level hardware, bold design, and aggressive pricing, Xiaomi’s worth…
Read more →
Key Takeaways Thinking about ditching your iPhone for a Samsung Galaxy phone? You’re not alone. Whether you’re after better hardware…
Read more →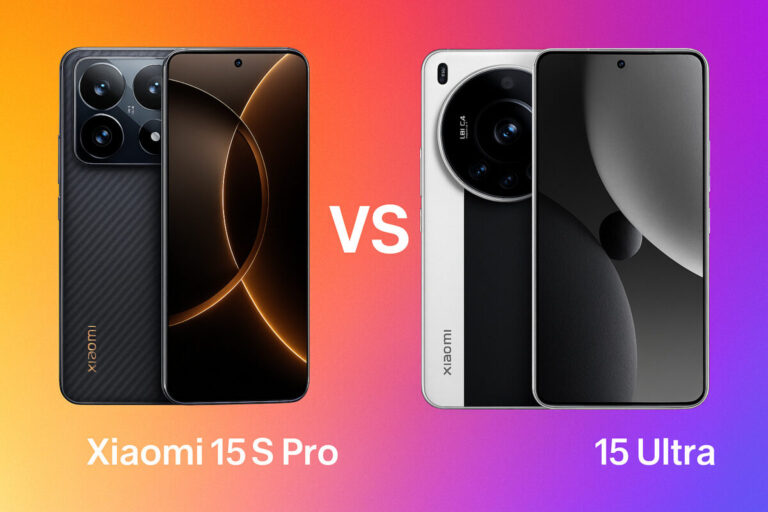

Key Takeaways Sharing is Caring!
Read more →

TL;DR: Key Differences at a Glance The Nothing Phone 3a and 3a Pro share the same core design and software,…
Read more →
Looking for the best smartphone for camera and video under $1000 / £800? Whether you’re a budding filmmaker, a social…
Read more →
The Xiaomi 15 series is here and right now you have two options: the base model Xiaomi 15 and the…
Read more →Think Apple’s lost its edge? Ready to ditch the iPhone for something new? Whether you’re craving more customization, better battery…
Read more →
Here’s a complete list of ALL of Apple’s iPhones in order by year, including ALL the changes, their respective release…
Read more →