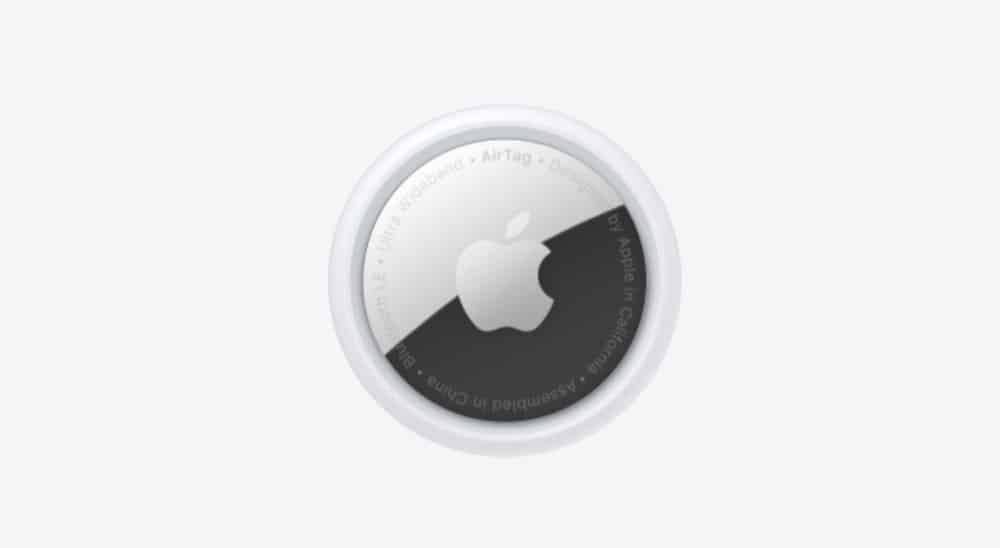
Wondering how to set up AirTag? AirTags are Apple’s latest gadget. They’re also the tiniest. You can attach an AirTag to any item you wish and then track that item with your iPhone or iPad. But first, you’ll need to set up your AirTag. Here’s how.
Apple’s AirTag trackers have been one of the most long-awaited products Apple has ever released. Apple has been working on the AirTag since at least 2017 and there were rumors Apple was preparing to ship the devices as soon as 2019. For whatever reason, that release date was pushed back to 2021.
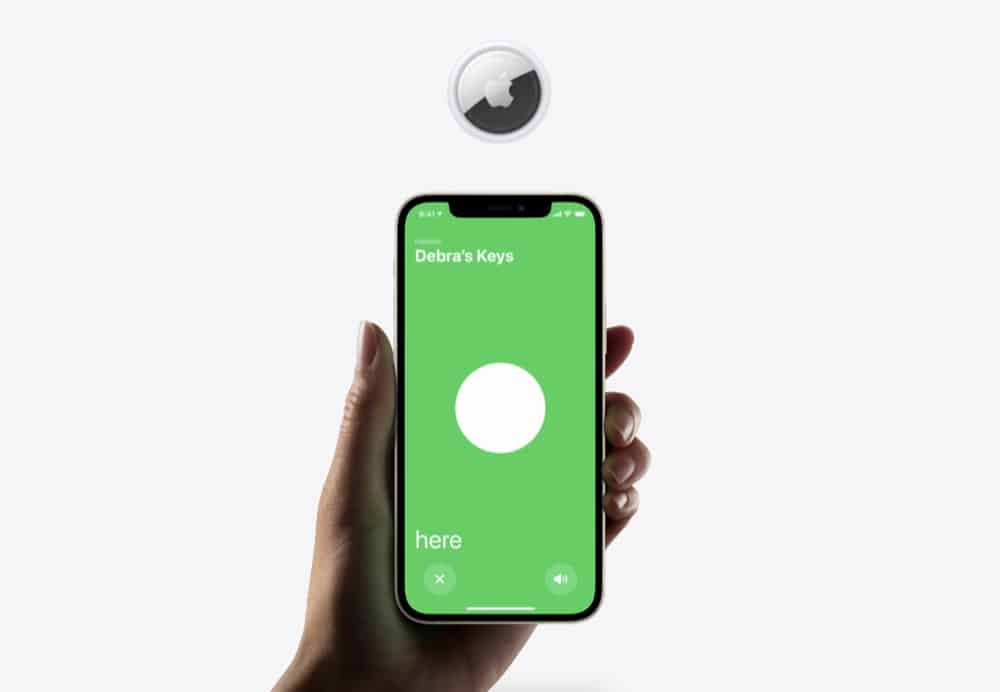
But now the AirTag is here! And it’s a terrific little gadget. The AirTag itself is about the size of a large coat button, which means you can slip it into even the smallest of objects, like a coin purse or wallet.
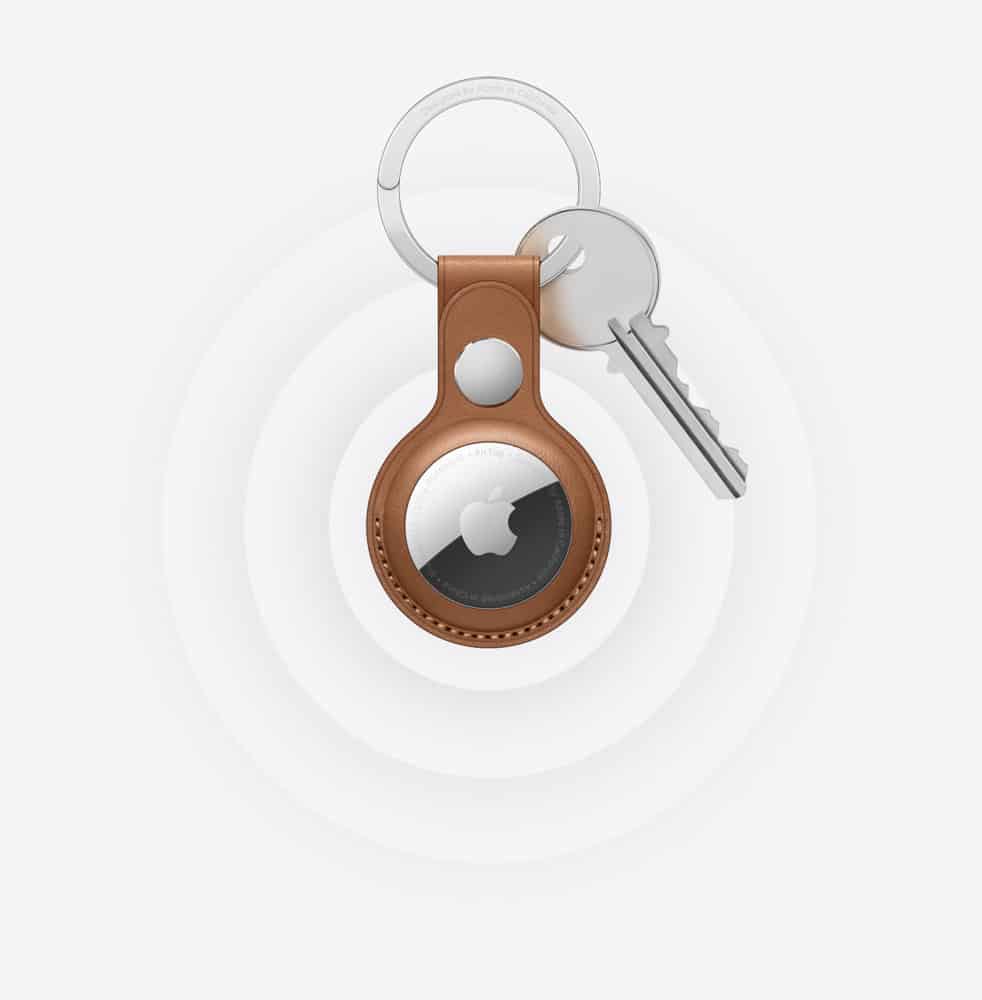
Or, if you wish, you can buy an AirTag accessory to attach it to items that don’t have pockets–like an umbrella, keys, bicycles, or anything else you can think of. Most AirTag accessories come in the form of small pouches you slip the AirTag into, which have a key ring on the end, which is how you attach it to an item.
How AirTags Work
AirTag support was introduced with the myriad new features of iOS 14.5. AirTags work via Apple’s Find My network. This is the same network that already lets you track your iOS and Mac devices in the Find My app and also lets you track your friends (with their permission).
AirTags don’t actually have a constant internet connection. Instead, they connect to the Find My network by emitting a Bluetooth signal. That signal then latches on to macOS and iOS devices out in the real world. Those devices then relay the AirTag’s unique identifier to Apple’s Find My network, which is how you track the items your AirTags are attached to.
And don’t worry, just because your AirTag is pining off of stranger’s iPhones and Macs that doesn’t mean those strangers have any ability to find your AirTagged items. The process is fully encrypted and private. No one can locate your AirTagged items except for you–via the Find My app.
Before You Get Started: AirTag Requirements
Before we tell you how to pair an AirTag so it shows up in your Find My app it’s important to note certain requirements you’ll need to use AirTags. Specifically you’ll need:
- An iPhone, iPad, or iPod touch running iOS 14.5 or iPadOS 14.5 or later.
- Find My turned on on your iOS device.
- Bluetooth turned on on your iOS device.
- A strong Wi-Fi or cellular connection.
- Location Services turned on on your iOS device. To turn on Location Services, Go to Settings > Privacy > Location Services.
Setting Up Your AirTag With Your iPhone or iPad
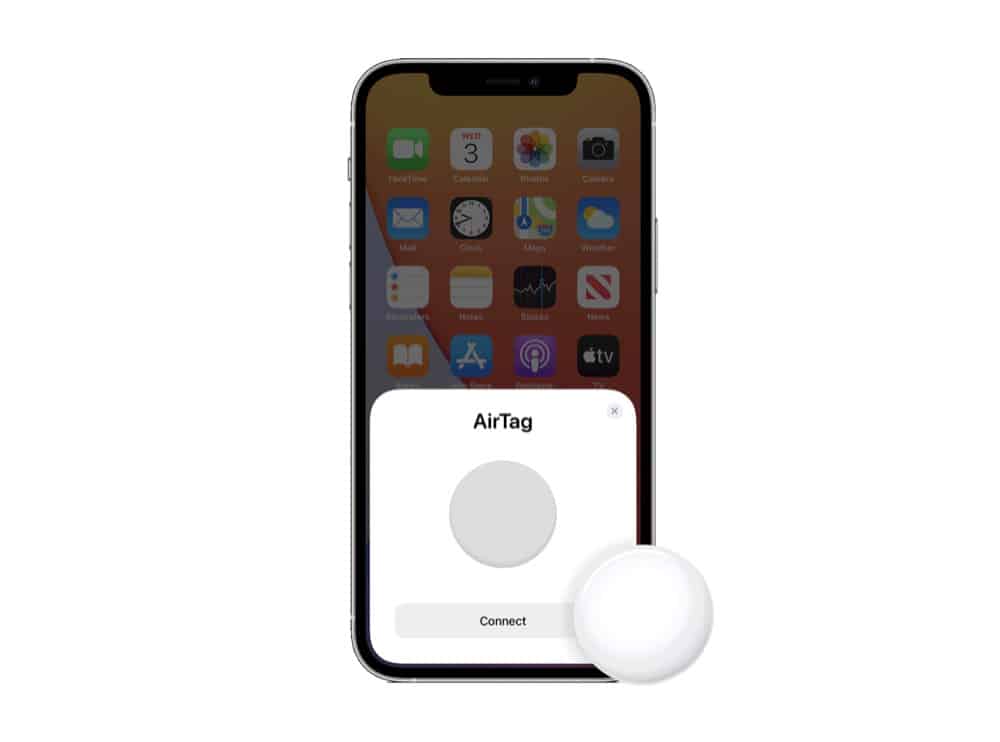
If you meet the requirements above, you’re good to go (provided you have an AirTag at first. The next set then is to pair that AirTag with your iPhone or iPad. By pairing the AirTag you’ll associate it with your Apple ID account, and thus your personal Find My network.
First thing to do is unpack your AirTag. Once it’s out of its package, you’ll notice that there is a little plastic tab sticking out from the AirTag. Pull this tab out. A larger piece of plastic will slide out with it.
This piece of plastic was a divider placed in the AirTag so its included removable battery would not drain during shipping. When you pul the plastic divider out, your AirTag will make a sound, letting you know the battery is activated now and you can now continue to pair the device.
So now follow these steps:
- Hold your AirTag near your iPhone, iPad, or iPod touch. A white card will appear on your device’s screen showing the AirTag. When you see this card the Connect button. Note: if you have more than one AirTag near your device, move the other ones away. Only set up one at a time. If the others are too close you’ll see a “More than one AirTag detected” message.
- Now select an item name from the list that appears. So if you are attaching your AirTag to car keys, select “keys”. Alternately you can select Custom Name to name your AirTag whatever you want. This name is what will appear in the Find My app and lets you identify what item the AirTag is attached to.
- Once you have named your AirTag, tap Continue.
- Then, to register your AirTag with your Apple ID, tap Continue again.
- Now, tap Done.
And that’s it! Now your AirTag is set up and ready to be tracked. You can find out how to track an AirTag you’ve already set up in our explainer here. Also, here’s how to factory reset an AirTag if you need to. And here is what you should do if you found a lost AirTag! Here’s what to do if you think you are being stalked with an AirTag. Also, check out How To Update AirTag Firmware!
