Apple ID: The Ultimate Beginner’s Guide For First Time Users…
I’m going to walk you through everything you need to know about Apple ID – from the absolute basics to advanced features you might not even know exist. By the time you finish reading this guide, you’ll understand Apple ID better than 90% of iPhone users.
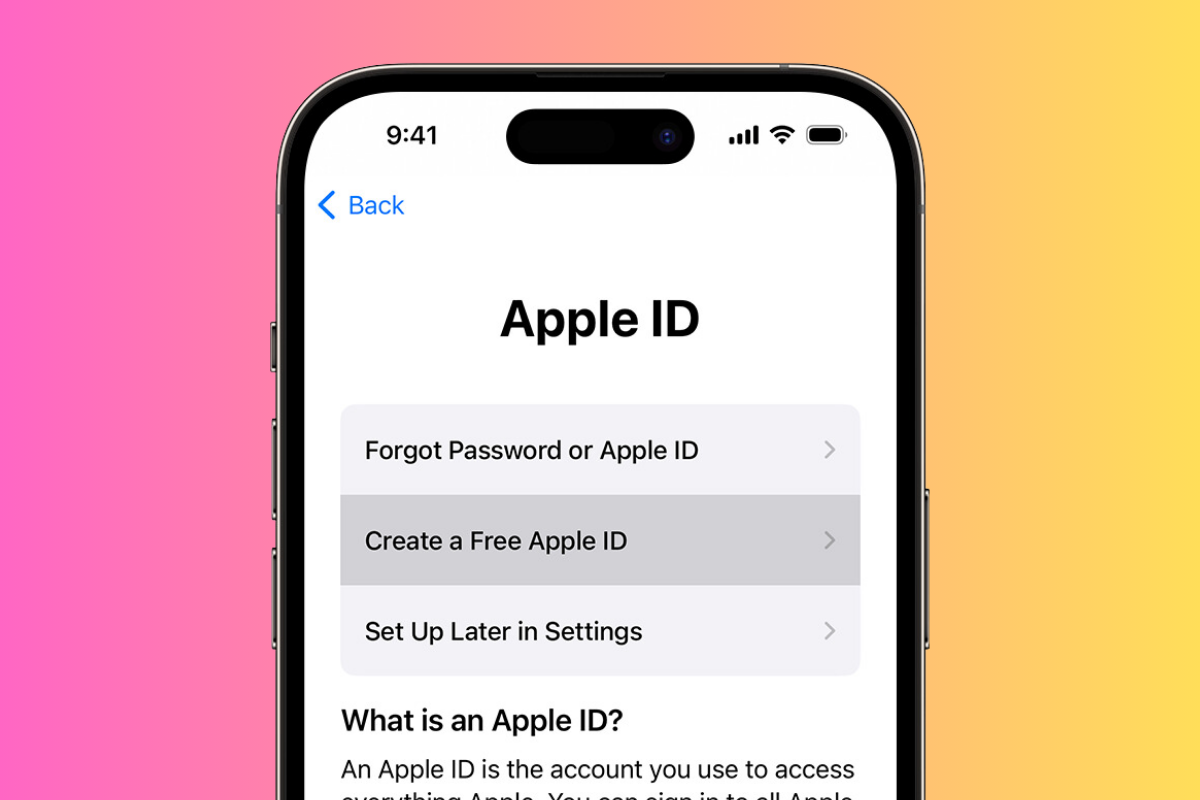
Get Smarter About Phones & What You Can Do With Them ✅
We help people find the best phones and tech for their exact needs. Whether you’re a complete beginner or aspiring content creator, we’re here to help…


Join 24000 readers who get ALL their tech advice from us…
The Back Story…
What is Apple ID?
Your Apple ID is essentially your digital identity in Apple’s world. Think of it as your passport to everything Apple offers. But it’s actually much more than just a username and password – it’s the backbone of how you interact with every Apple service and device.
Do You Need An Apple ID? Yes – Here’s Why…
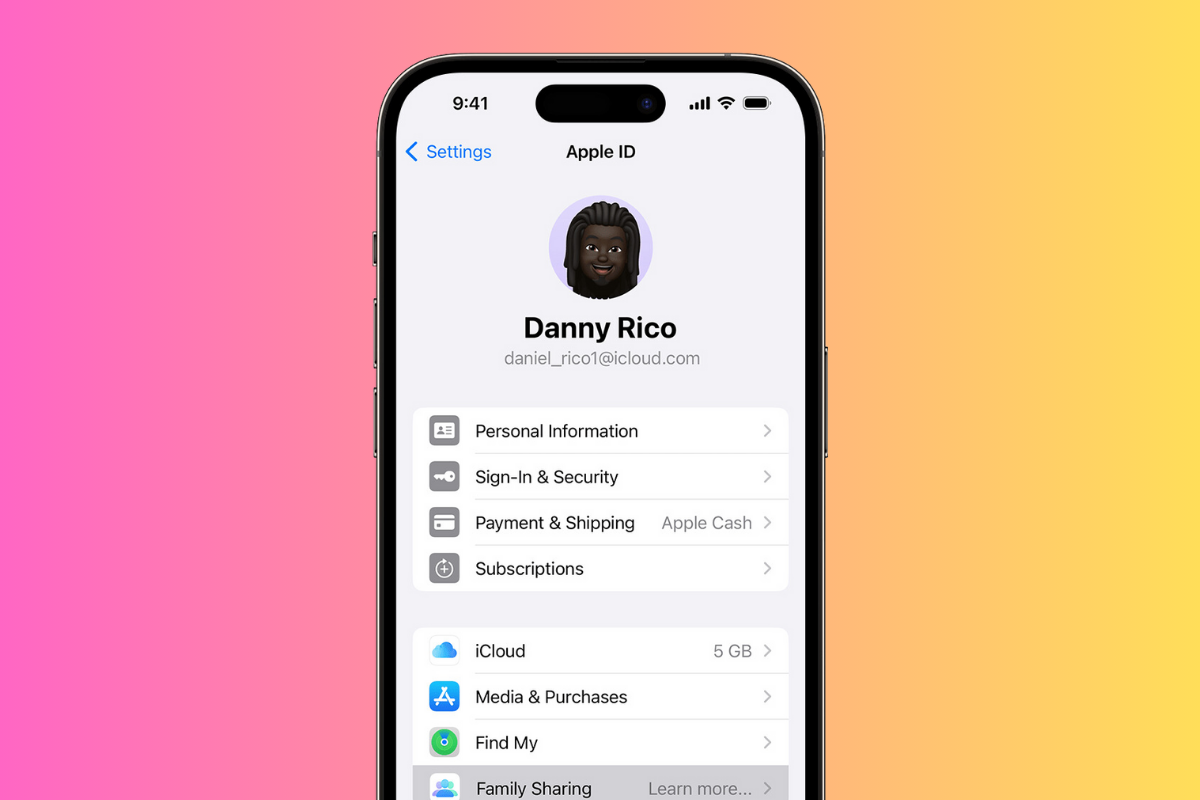
Let me break down exactly what makes Apple ID so powerful and how it makes your life easier, especially if you’re new to Apple devices.
One Account, Endless Possibilities
Imagine having a single key that unlocks every door in your house – that’s what Apple ID does for your digital life.
Apple ID Syncs Everything Like Magic (Across ALL Your Apple Devices)
Here’s exactly what you can do with just one login:
App Store Access: Browse and download any app you want. You’ll use the same Apple ID across all your devices, so your account will remain synced.
Entertainment Services:
- Watch shows on Apple TV+
- Listen to music on Apple Music
- Download books from Apple Books
- Play games on Apple Arcade
Communication Tools:
- Send messages through iMessage
- Make video calls with FaceTime
- Share your location with family
Cloud Storage:
- Store files in iCloud
- Back up your device automatically
- Access your documents anywhere
Real-World Example: Let’s say you just got your first iPhone. Instead of creating separate accounts for the App Store, iMessage, FaceTime, and iCloud, you just sign in once with your Apple ID.
That’s it – you’re ready to download apps, message friends, make video calls, and store your photos in the cloud.
Apple ID is Great For Security & Tracking Down Lost iPhones or Other Apple Devices
Apple products aren’t cheap, so losing them is something you NEVER want to do.
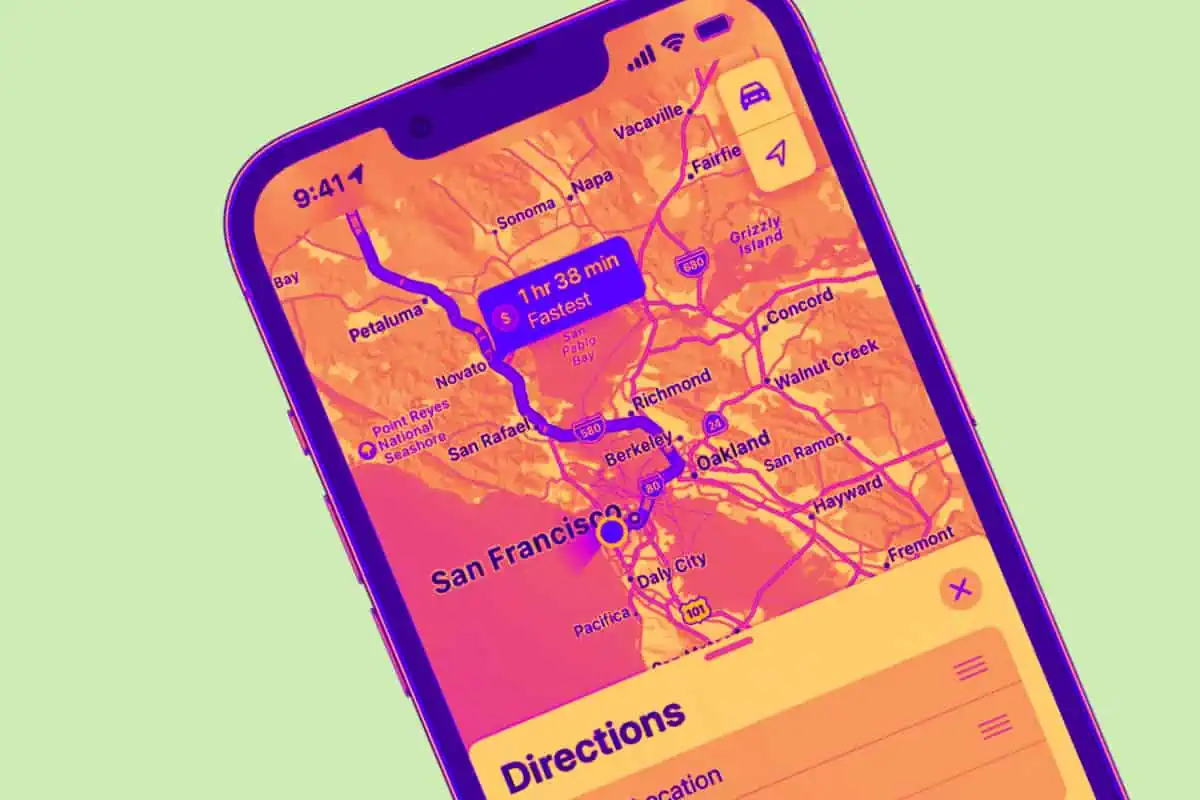
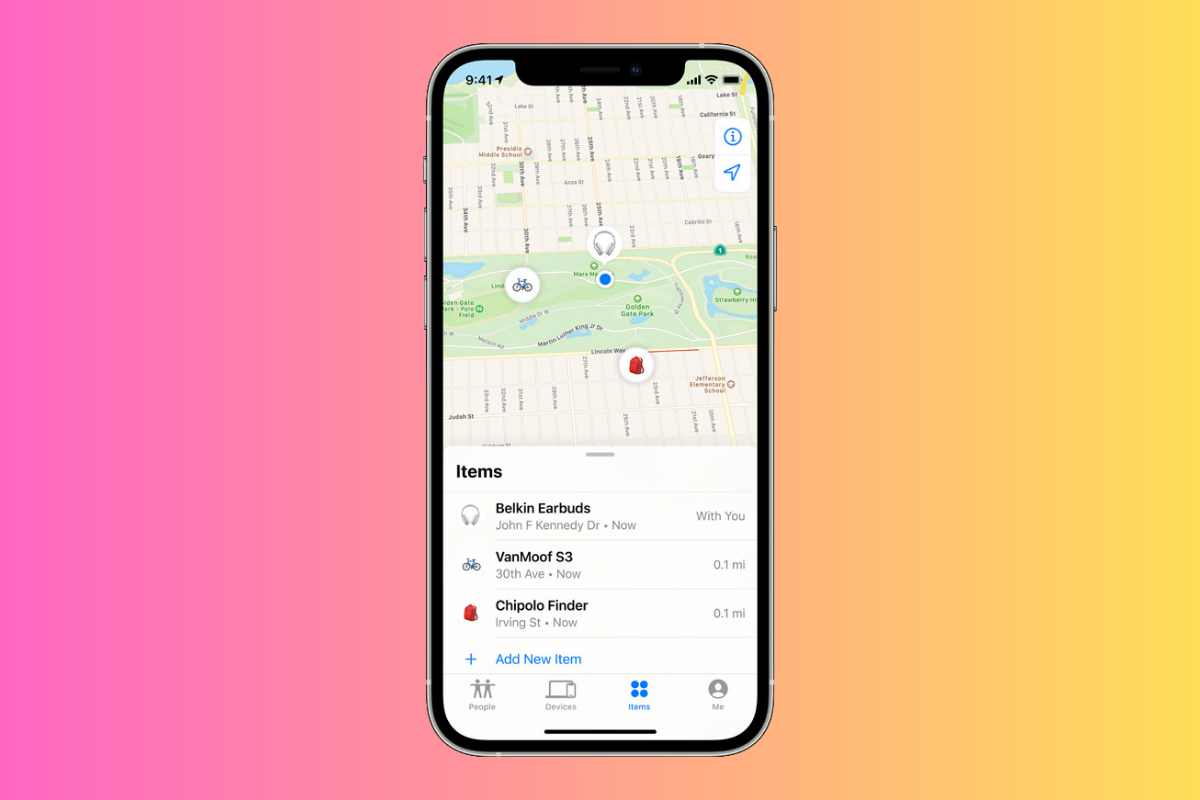
Apple has a handy tool called Find My that is built into iOS, MacOS, and all of its products – including Apple Watch and AirPods.
It basically helps you to locate ALL of your Apple products on a map, so if you lose them, you can quickly track them down.
As someone that has used the Find My app multiple times to find misplaced AirPods, iPhones and one time my MacBook Pro, take it from me – you’ll want Find My set up and running.
With Apple ID setup, all of your Apple products (that you’ve signed into using Apple ID) will show up in Find My.
Told you Apple ID was useful. Below is just a snippet of some of the cool features and settings you have available to you inside Find My…
Apple ID Powers Find My – One of Apple’s Most Useful Security Features
Think of your Apple ID as a super-powered security system for all your Apple devices.
Find My iPhone Feature
- Lost Mode:
- Your device is locked instantly
- A custom message displays on the screen (“Please call 555-0123 if found”)
- You can track its location in real-time
- Remote Actions:
- Play a sound (great for finding it in your house)
- Lock the device (keeps your data safe)
- Erase everything remotely (last resort)
Real-World Scenario: Imagine you leave your iPhone in a taxi. Here’s what you do:
- Go to iCloud.com or use the Find My app on another device
- Sign in with your Apple ID
- See your iPhone’s location on a map
- Put it in Lost Mode with your contact info
- Contact the taxi company with the location
Activation Lock
- Makes your device useless to thieves
- Requires your Apple ID password to:
- Turn off Find My iPhone
- Erase your device
- Reactivate the device
Apple ID Lets You Easily Manage All of Your Subscriptions & App Store Purchases
Apple’s entire ecosystem is designed to get you to spend money – and to keep your doing it.
Whether its games or apps via the App Store or other purchases like Apple TV+ or Apple Music, using Apple ID makes keeping track of your purchases a cinch.
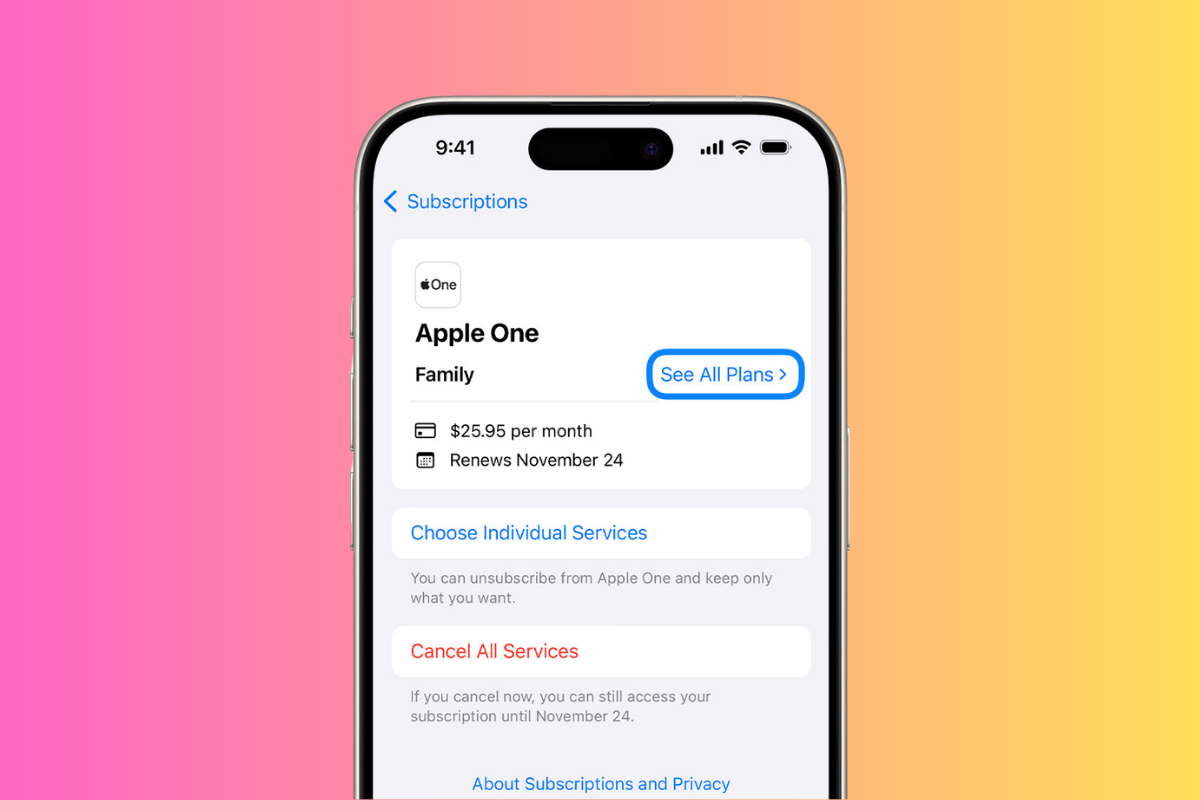
Whatever you’ve bought – no matter how long ago – will be logged and associated with your Apple ID, so you can quickly analyse and edit any on-going subscriptions.
Everyone’s downloaded an app, forgot about it, and then realised, several months (or years) later, that you’ve been paying for something you’re not using.
With Apple ID, stopping this from happening is super easy because it logs and tracks all of your spending across the Apple ecosystem, housing it all one easy to-access location – subscriptions.
What Type of Payments Does Apple ID Track & Store?
- Apps: Every app you’ve ever downloaded
- Media: Movies, TV shows, books, music
- Subscriptions: Apple Music, iCloud+, Apple TV+
- In-App Purchases: Extra features or content you buy within apps
How This Helps You:
- Device Upgrades:
- Get a new iPhone? Sign in with your Apple ID
- All your purchased apps reinstall automatically
- No need to buy anything again
- Family Sharing:
- Share eligible purchases with up to 5 family members
- Everyone uses their own Apple ID
- Only buy apps, movies, or books once
- Purchase History:
- View everything you’ve ever bought
- Redownload deleted items
- Track subscriptions and manage payments
Real-World Example: Say your iPhone stops working. When you get a new one:
- Sign in with your Apple ID during setup
- Choose to restore from your iCloud backup
- Watch as your apps, photos, messages, and settings return automatically
Apple ID Allows For Data Synchronization Across ALL Your Apple Products
Syncing data across multiple devices is always useful, and with Apple ID is has never been simpler. Once you’re signed in with Apple ID on your iPhone and MacBook, for instance, all of your data will sync between the two devices.
So, your iPhone photos will appear inside Photos on your MacBook, ditto your Messages, and your downloads and subscriptions.
And the best part? It does it all automatically. All you have to do is make sure you’re logged in with Apple ID on all your Apple devices and Apple ID does all the leg work in the background.
And there’s LOADS of potential benefits for this; here’s just a few that I have come across in my years of using Apple products and Apple ID.
📸 Scenario 1: Photo Management
Step-by-step:
- Take photos at a party with your iPhone 📱
- Get home and they’re already on your iPad 🏠 ➡️ 📱
- Edit them on your iPad’s larger screen 🖊️📱
- Edited versions sync back to your iPhone 🔄
- Share them with friends from any device 👫
Things to keep in mind: Ensure both devices are connected to Wi-Fi for faster sync and that iCloud Photos is enabled on both.
💼 Scenario 2: Working Across Devices
Step-by-step:
- Start writing an email on your iPhone during commute 📝📱
- Save it as a draft 💾
- Arrive at work and open your Mac 💻
- Find the draft ready to finish and send 📨
Things to keep in mind: Make sure the Mail app is connected to iCloud to sync drafts across devices.
🗓️ Scenario 3: Calendar Management
Step-by-step:
- Receive a meeting invitation on your Mac 📧💻
- Accept it and it’s added to your calendar ✅🗓️
- Get a notification on your iPhone when it’s time 🔔📱
- Check the details on your iPad in the meeting 📖📱
Things to keep in mind: Ensure calendar sync is enabled in iCloud settings for seamless integration across devices.
⚙️ Setting Up Sync
Step-by-step:
- Sign in with your Apple ID on each device 🔑
- Go to Settings → [Your Name] → iCloud ⚙️
- Toggle on the items you want to sync 🔄
- Wait a few minutes for the initial sync to complete ⏳
Things to keep in mind: A stable internet connection is important for the initial sync to complete smoothly.
🔄 What Gets Synced
Photos and Videos:
- Take a picture on your iPhone 📱
- It appears on your iPad automatically ➡️📱
- View it on your Mac without doing anything 💻
Messages:
- Start a conversation on your iPhone 💬📱
- Continue it on your Mac 💻
- See all replies on your iPad 📱
Documents:
- Begin writing a note on your iPhone 📝📱
- Edit it on your Mac later 💻
- All changes save automatically 🔄
Contacts and Calendars:
- Add a new contact on one device 📇
- It appears everywhere else 🔄
- Update an appointment time once, see it everywhere 🗓️
Pro Tip: Make sure you’re connected to Wi-Fi when first setting up sync – it’ll be faster and won’t use your cellular data.
Getting Setup Properly…
Setting Up Your Apple ID: A First-Timer’s Guide
Setting up Apple ID is super easy, and it’s built right into iOS, macOS, and iPadOS devices. Here’s what you need to know…
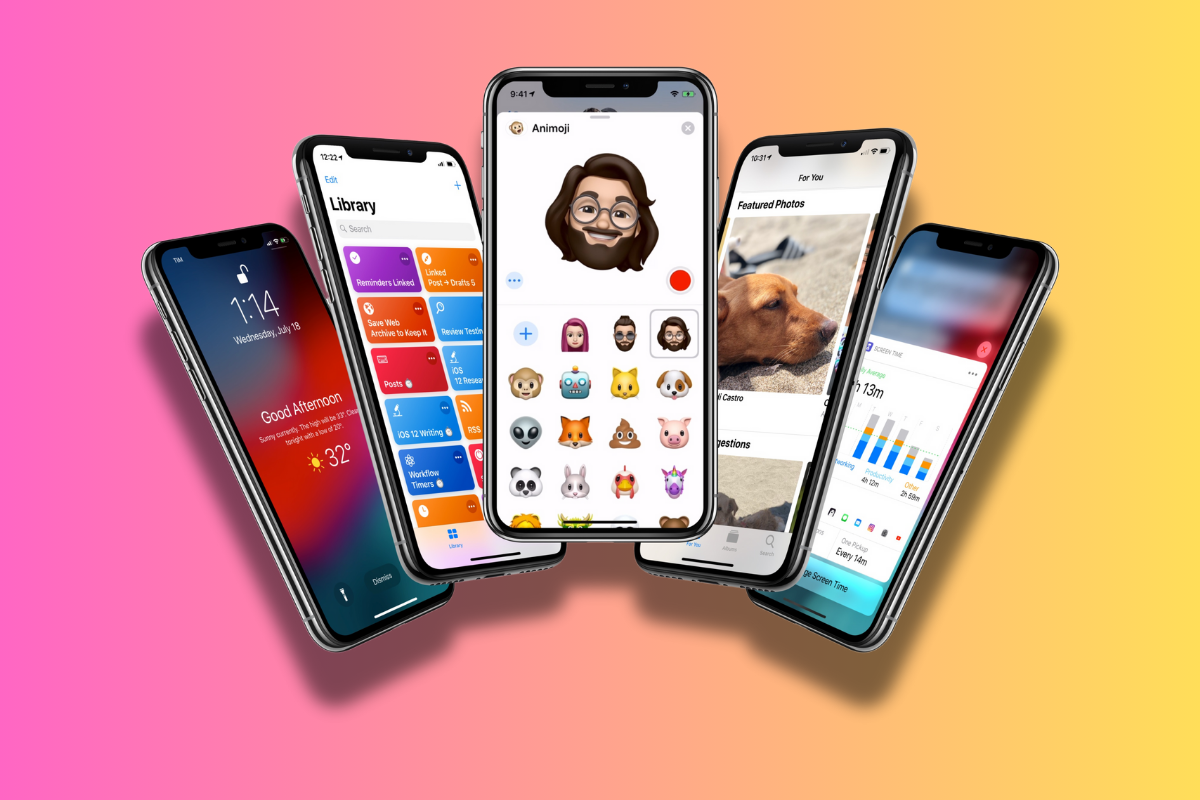
Apple ID Setup Options & Best Practices
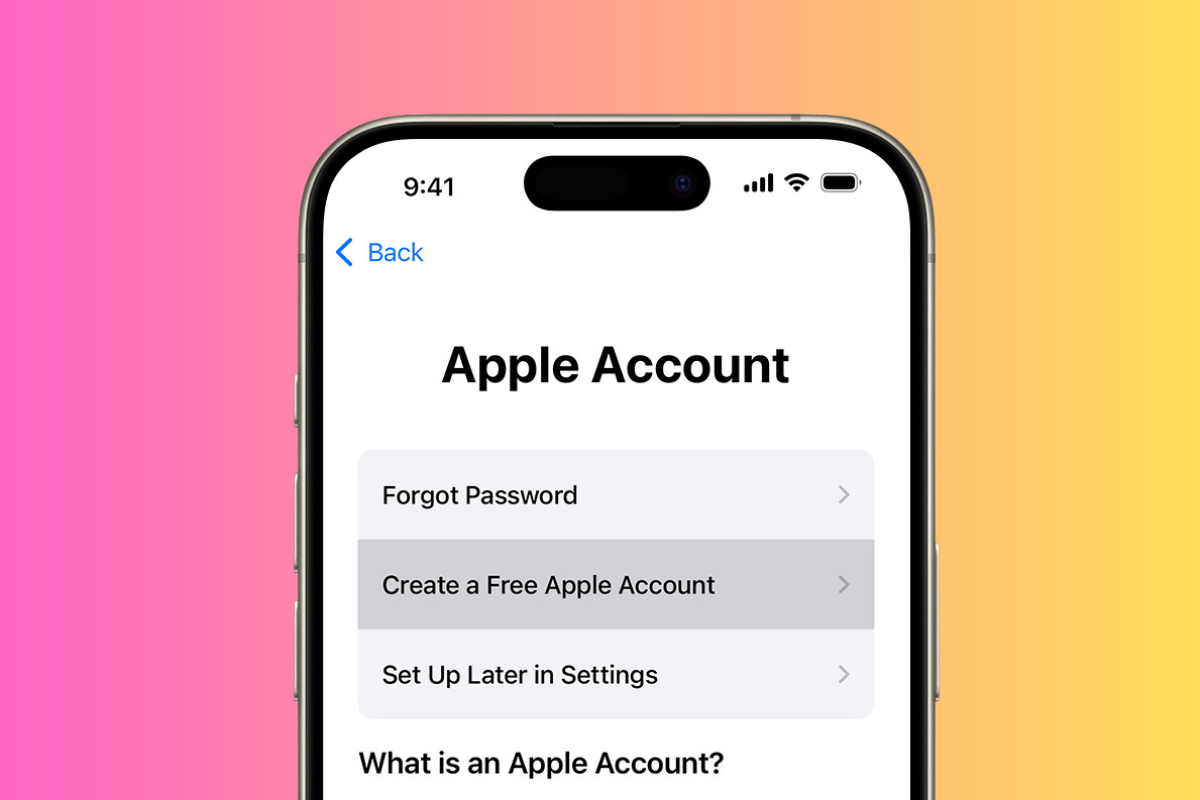
Getting your Apple ID set up is one of the first steps to unlocking the full potential of your Apple devices.
Whether you’re using an iPhone, iPad, Mac, or any other Apple gadget, your Apple ID is your key to making it all work seamlessly together.
Let’s walk through how to get started and a few tips to make the most of it.
What Email Should You Use?
You’ve got some flexibility when setting up your Apple ID. Here are your main options:
- Use Your Existing Email: If you already have an email like Gmail or Yahoo, you can use that for your Apple ID without any issues.
- Create a New iCloud Email Address: If you want to dive deeper into Apple’s ecosystem, you can create a new @icloud.com email. This email integrates perfectly with Apple services.
- Use a Work or School Email: If you’re setting this up for work or school, you can use that email too.
Pro Tip: If you’re deciding between using a Gmail account or creating an iCloud email, know that an iCloud email offers smoother integration with Apple’s services, especially for syncing across devices. But don’t worry, either option works just fine for most things.
Finding Your Apple ID
Misplaced your Apple ID? Don’t panic—it’s easy to track down. Here’s how:
- On your iPhone: Go to Settings and tap your name at the top. Your Apple ID will be listed right there.
- On the Web: Head over to appleid.apple.com and click “Forgot Apple ID?”
- On a Mac: Click the Apple menu () → System Settings → Click your name at the top of the screen.
Passwords and Security
Your Apple ID password is not the same as your email password. It’s an extra layer of security just for your Apple account. Forgot your Apple ID password? No worries:
- Visit iforgot.apple.com
- Enter your Apple ID email.
- Follow the recovery steps, and you’re back in business.
Making Your Account Extra Secure
Apple goes above and beyond when it comes to security. Here’s how you can level up your Apple ID’s safety:
- Two-Factor Authentication (2FA): This sends a code to your trusted devices whenever you try to sign in, keeping hackers at bay.
- Recovery Keys: A backup method to regain access to your account if you lose your password.
- Security Questions: Another verification step for added peace of mind.
The iCloud Connection
When you create an Apple ID, you automatically get 5GB of free iCloud storage.
This space is used for storing backups, photos, documents, and more. If you find yourself needing more space, Apple makes it easy to upgrade your storage plan.
Plus, with your Apple ID, you can access iCloud.com from any browser, where you can manage your data, send emails, and even find your devices if they’re lost.
Making Changes…
Making Changes to Your Apple ID
As you get more comfortable with your Apple ID, you might need to make changes—like updating your email or managing your family settings. Here’s how to handle those changes smoothly.
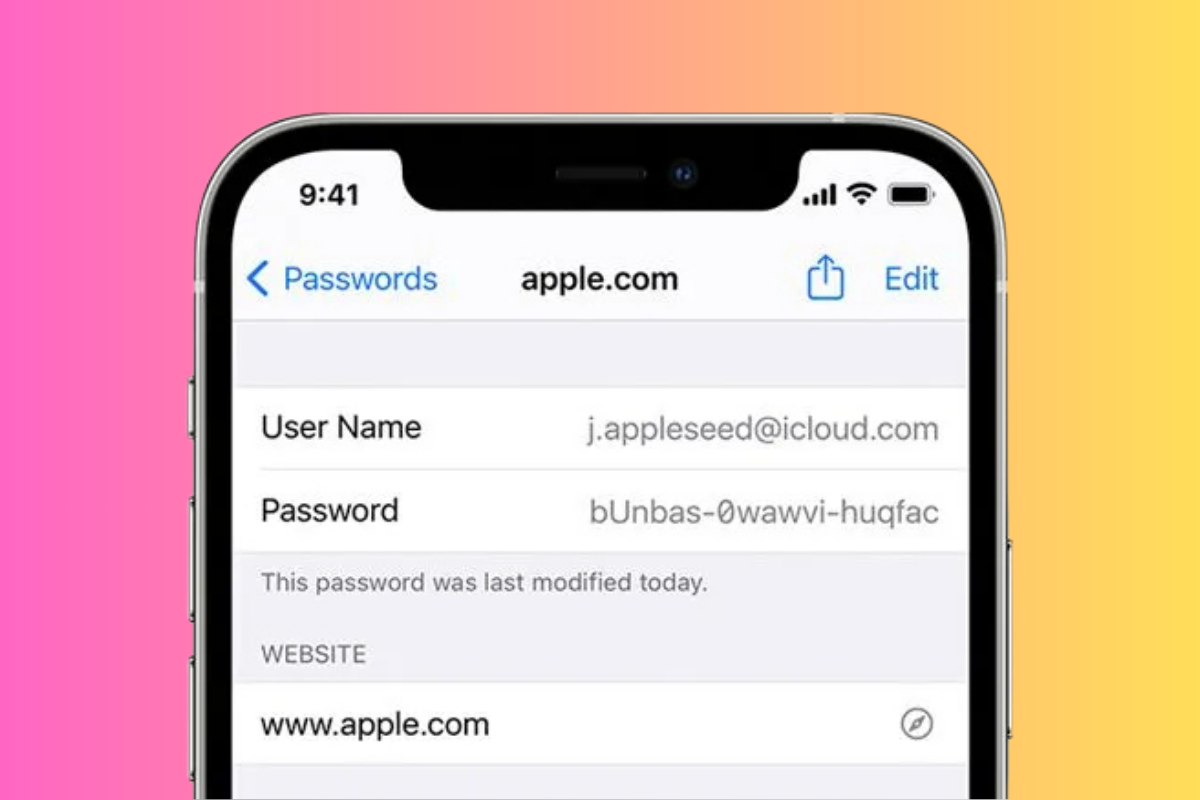
Changing Your Email Address
If you email is compromised or you decide to switch providers, like moving away from Gmail to something more secure like Proton Mail (an email that is built around total privacy and zero tracking), you’ll need to make changes to your Apple ID.
Now, most people don’t change their core email that often; I’ve had my personal email for almost 18 years now!
But if you do need to change your Apple ID email, for whatever reason, the process is relatively simple – just follow the steps outlined below.
How to Change Your Apple ID Email
Changing the email associated with your Apple ID is easier than you might think.
Whether you want to switch to a new email provider or update it to an iCloud address, here’s a step-by-step guide to get it done smoothly.
Step 1: Sign Out of All Devices
Before making the switch, it’s a good idea to sign out of your Apple ID on all your devices except the one you’re using to change the email. This helps prevent any sign-in issues once the email is updated.
- On your iPhone, iPad, or iPod touch: Go to Settings → Tap your name → Scroll down and tap Sign Out.
- On your Mac: Go to System Settings → Click your name → Scroll down and click Sign Out.
Step 2: Go to Apple’s Website
To change your Apple ID email, you’ll need to visit Apple’s official website:
- Go to appleid.apple.com and sign in with your current Apple ID email and password.
- Once logged in, go to the Sign-In and Security section and select Apple ID.
Step 3: Enter Your New Email Address
In the Apple ID section, you’ll see the option to change your email. Here’s what to do:
- Click Edit next to your email address.
- Enter the new email address you want to use for your Apple ID. Make sure it’s an active email you have access to, as Apple will send a verification code.
- Once entered, click Continue.
Step 4: Verify Your New Email
Apple will send a verification email to the new address you provided. Here’s how to verify it:
- Open the email from Apple in your inbox.
- Click the verification link in the email or enter the code on the Apple ID website.
- Once verified, your Apple ID email will be successfully updated.
Step 5: Sign Back Into Your Devices
Now that your Apple ID email has been changed, you’ll need to sign back into your Apple ID on all your devices. Here’s how:
- On iPhone or iPad: Go to Settings → Tap your name → Tap Sign In and enter your new Apple ID email and password.
- On Mac: Go to System Settings → Click Sign In and use your updated email.
Additional Tips
- iCloud.com: You can also manage your Apple ID email and settings via iCloud.com.
- Apple Services: After updating your email, your purchases, subscriptions, and other Apple services will remain intact. Nothing will be lost in the process.
What happens when you change your Apple ID email? If you follow the steps above, everything will the same as before – just with your new email associated with it.
And that means:
- Your Purchases Stay With You: All your app purchases, subscriptions, and media stay tied to your account, so you won’t lose anything.
- Your Data Remains Intact: Contacts, calendars, and other synced data will stay safe.
- You’ll Need to Sign In Again: Once you make the change, you’ll need to sign in with your new email on all your Apple devices.
Important Tip: Make the email switch gradually. Don’t rush it—this helps ensure you don’t lose access to your account or any services tied to your Apple ID.
Family Sharing
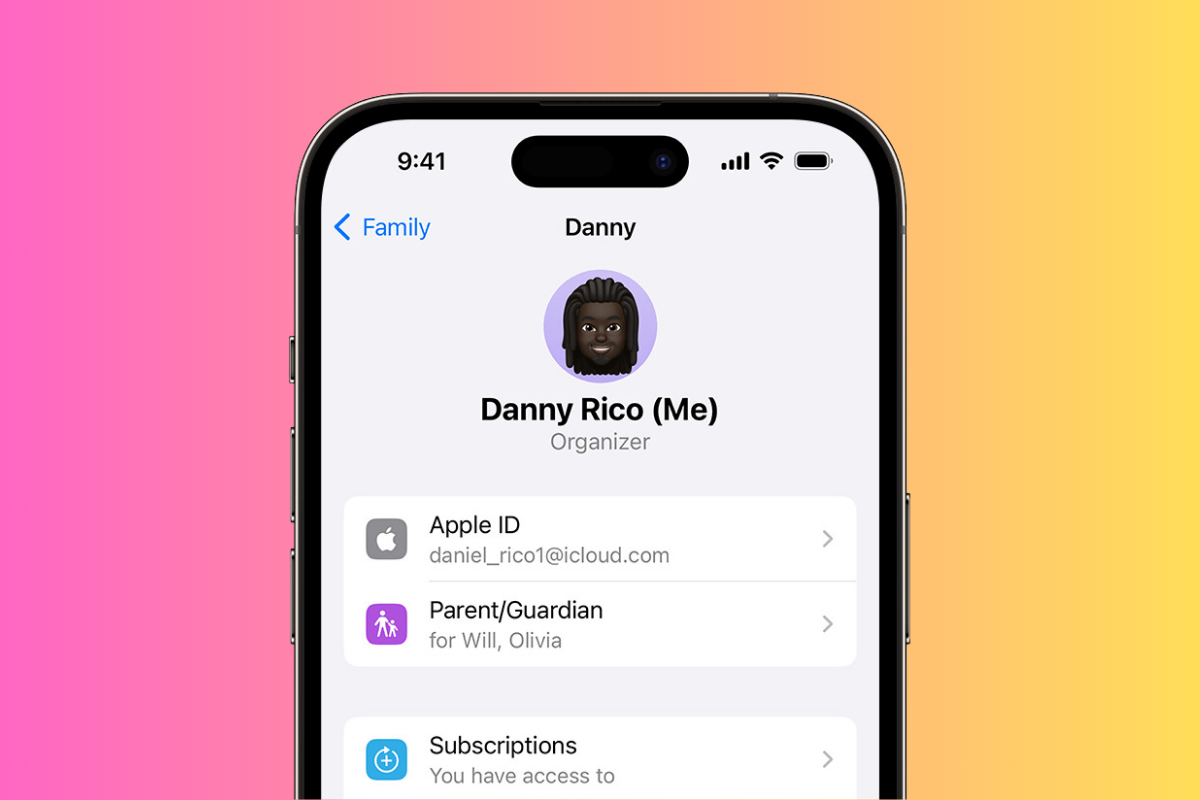
Your Apple ID isn’t just for your personal use—it can bring your entire family together through Family Sharing.
With this feature, up to six family members can share purchases, subscriptions, and more, all while keeping individual accounts.
Here’s what Family Sharing allows you to do:
- Share Purchases: Up to 6 family members can share App Store and iTunes purchases, so no need to buy the same app or song twice.
- Control Kids’ Accounts: As the family organizer, you can approve your kids’ purchases and set content restrictions.
- Share iCloud Storage: Pool your iCloud storage with family members, making it easier (and cheaper!) to manage space.
- Track Devices: You’ll be able to see where everyone’s devices are through Find My—perfect for keeping tabs on family members’ iPhones or iPads.
Privacy and Security Tips
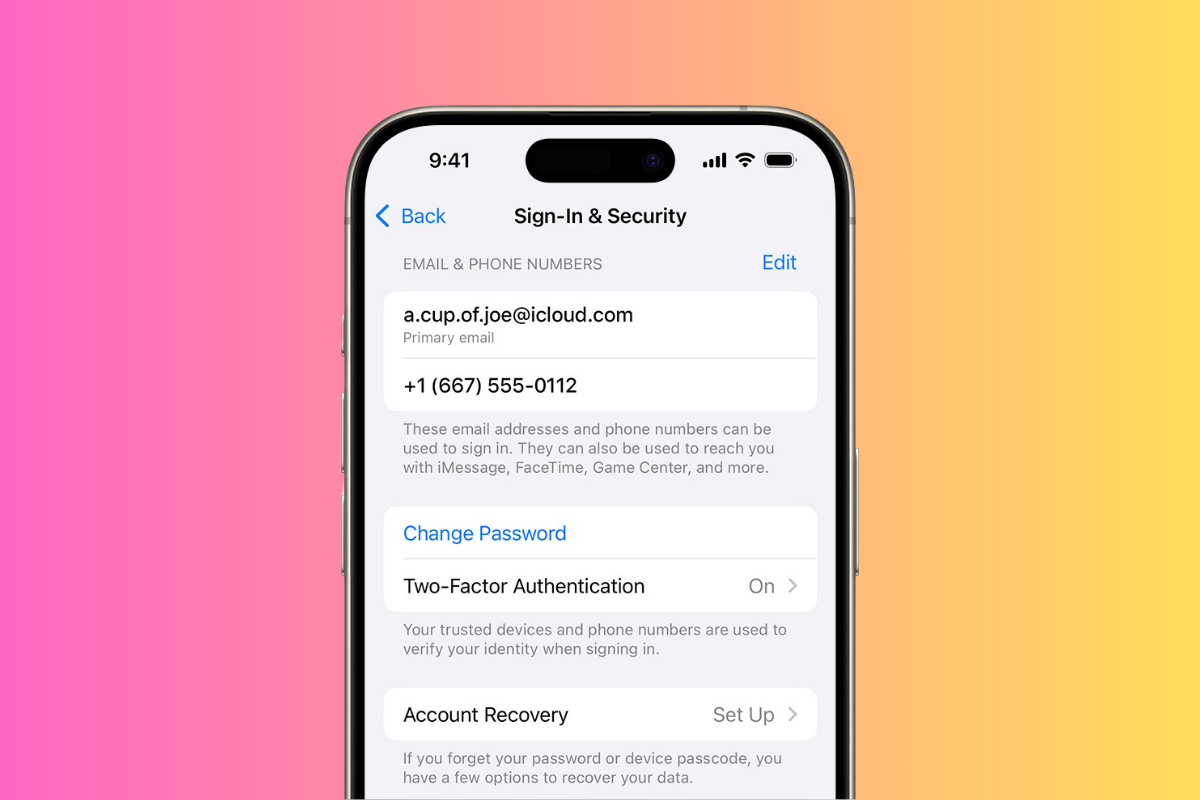
Apple has built a strong reputation for prioritizing user privacy, and your Apple ID plays a crucial role in safeguarding your personal information.
Here’s how Apple ensures your data stays secure:
- Regular Security Updates: Apple consistently updates its software to improve security, so make sure your devices are always up to date.
- End-to-End Encryption: Your sensitive data, like messages and Health info, is encrypted so that only you (and the person you’re messaging) can see it.
- Two-Factor Authentication: This adds an extra layer of security by requiring both your password and a code sent to a trusted device to sign in.
- App Data Control: You can decide which apps have access to things like your location, contacts, and photos.
And that, my friends, is that – you now know literally everything there is to know about Apple ID.
It’s pretty useful, right? If you want to learn more about the ins and outs of Apple’s iOS platform, make sure you check out our Complete Guide To Apple’s iOS Platform – it covers literally everything.
#TrendingHeadlines
