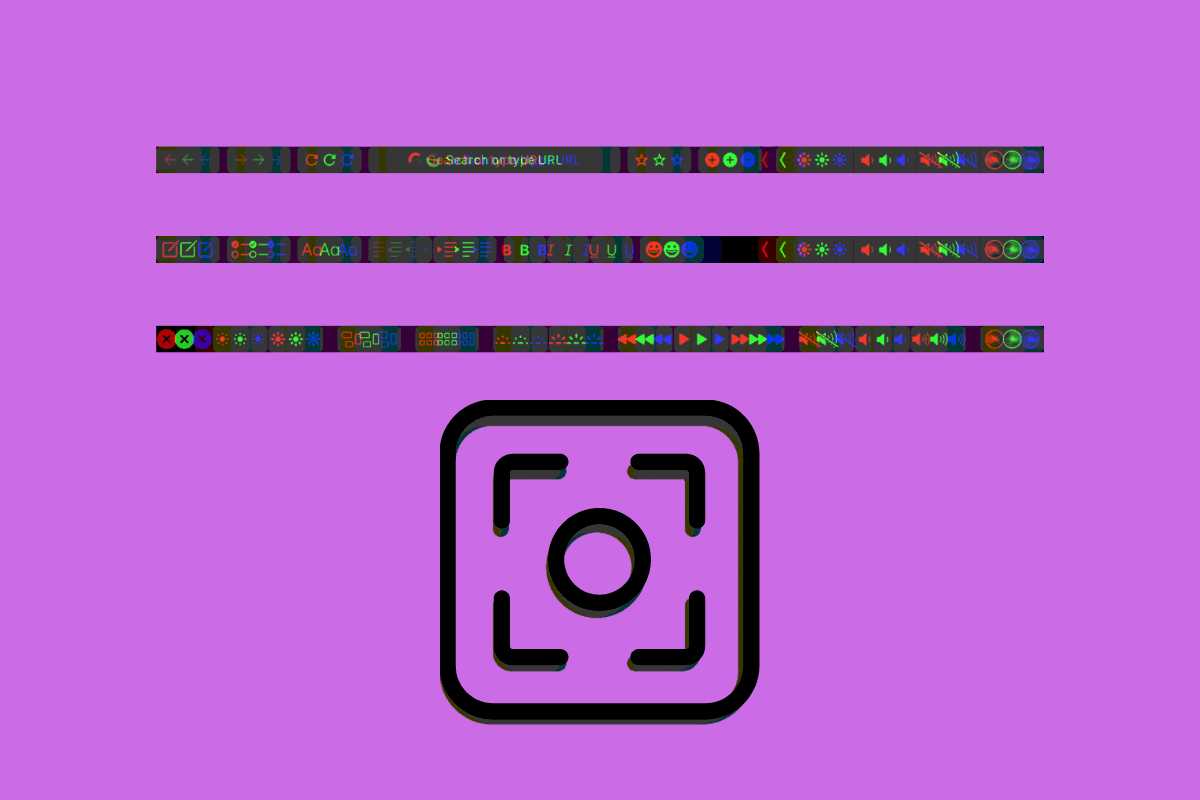
Yes, you can actually take a screenshot of just the MacBook Touch Bar. Here’s how…
Many users proficient in macOS, the operating system that runs on Apple’s Macs, including the iMac, Mac Studio, MacBook Air, and MacBook Pro, know that it is very easy to take screenshots on the Mac using just the keyboard shortcut keys.
For example, to take a fullscreen screenshot on your Mac, just press Command-Shift-3 all at the same time.
To take a screenshot of just one window on your Mac, press Command-Shift-4 at the same time and then press the spacebar and select the window and press the mouse button.
But for a few years, Apple made some Macs with two screens – not one. These were MacBook Pros that came with the Touch Bar. And you can actually take a screenshot of just the Touch Bar if you’ve got one of these Macs.
Here’s what you need to know…

What Is The Mac Touch Bar?
The Touch Bar is a now-defunct piece of technology Apple added to select MacBooks beginning in 2016. The Touch Bar is an OLED display about half the width of a normal key on a MacBook. The Touch Bar ran across the top of the keyboard, below the display, and replaced the physical function keys that normally resided in the space. The Touch Bar was a small touch screen on your Mac, in other words.
At the end of the Touch Bar was a Touch ID fingerprint reader.
Apple thought the Touch Bar was the future – at least on high-end laptops. But the technology never really caught on with consumers. However, it was laudable what Apple tried and the Touch Bar was actually quite versatile.
Besides being able to display the standard F-keys from the function row of keys the Touch Bar replaced, the Touch Bar could change its key layout on demand – altering its appearance based on the app that was being used.
For example, when a user was working in the Pages app, the Touch Bar would show common commands as touch buttons, including Bold, Italics, and Underline keys. Or when in the Calendar app, the Touch Bar shows keys relating to the upcoming months. In the Music app, the Touch Bar shows music playback controls.
But the Touch Bar was best for media apps. Users could use the Touch Bar to scrub through a video in an editing or media player app. They could also use the Touch Bar to scrub through a selection of photos.
What MacBooks Used The Touch Bar?
Apple never brought the Touch Bar to its desktop Macs and keyboards. And its lower-end MacBooks never got the Touch Bar either.
Apple included the Touch Bar on select 16-inch MacBook Pros, select 15-inch MacBook Pros, and select 13-inch MacBook Pros.
When Apple introduced its 2021 MacBook Pro it got rid of the Touch Bar. It’s unlike the Touch Bar will ever make a comeback on the Mac…though stranger things have happened.
How To Take A Screenshot Of The MacBook Pro Touch Bar
Still, if you’ve got a MacBook with the Touch Bar, you can take a screenshot of it. Why you would want to do this isn’t very clear. Most users would have no use for a Touch Bar screenshot. However, it could be useful if you are a developer and want to share the current Touch Bar layout with another dev or UI person.
To take a screenshot of your MacBook Pro Touch Bar do the following: press and hold Command-Shift-6 all at the same time. This will take a screenshot of the Touch Bar and save the picture file on your desktop.

