Here’s 11 super-useful Notion tips and tricks designed to help you get the most from using the platform…
If you’re just starting out with Notion, I get it – the platform can seem a little confusing. Learning to use Notion properly is key to getting the most out of this productivity tool. And while the learning curve is steeper than most other applications, the rewards are well worth it.
For absolute beginners, there’s a selection of FAQs that tend to come up when you’re getting started with Notion. As someone that uses Notion everyday for the past 18 months, I know my way around the platform and, more than that, I know how to get the most from it.
And Notion’s integrated AI has helped with this massively.
This simple guide will breakdown how to do a bunch of things in Notion. From switching to Dark Mode to creating a Notion Template, if you’re new to Notion, chances are you’ll find some of the actionable guides and tips below super-useful. Let’s dig in…
Notion Tips and Tricks – The Most Common FAQs…
How To Change Font In Notion
Notion offers three different typography styles for all pages: Default, Serif, and Mono. You can switch between these fonts by following these steps:
Changing Fonts In Notion & Other Styling Options
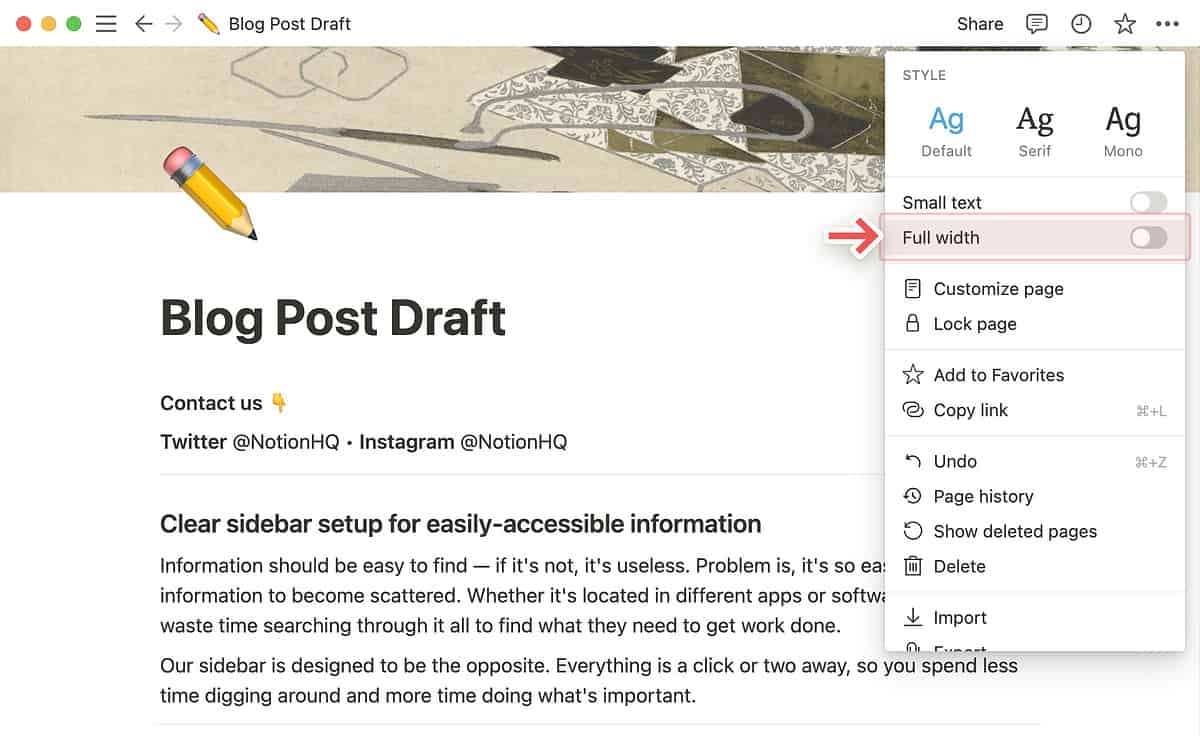
- Click on the three-dot icon located at the upper right-hand corner of your Notion page, which will prompt a menu to appear. Locate the section labeled “Style”.
- In the “Style” section, you can preview and select the font that best suits your preferences.
- If you wish to display more text on the page, you have the option to switch on the “Small text” toggle, which will reduce the font size. Please note that this option is not available on the Notion mobile applications.
The font is set by Notion and applies to all pages and blocks. However, you can apply basic text formatting to change the look of your text in a few ways as well. Here’s how:
- Bold: Use the “B” button in the text formatting toolbar, or use the keyboard shortcut
Ctrl/Cmd + B. - Italics: Use the “I” button in the text formatting toolbar, or use the keyboard shortcut
Ctrl/Cmd + I. - Strikethrough: Use the “
S” button in the text formatting toolbar, or use the keyboard shortcutCtrl/Cmd + Shift + S. - Underline: Use the “U” button in the text formatting toolbar, or use the keyboard shortcut
Ctrl/Cmd + U. - Code: Use the “</>” button in the text formatting toolbar to change your text to a monospace font. This is typically used for code snippets, but you can use it to change the appearance of any text.
- Color and Background: Use the “A” button in the text formatting toolbar to change the color of your text, or the color of your text’s background.
You can change the size of your text by using different headers. To do this, select the “H1”, “H2”, or “H3” button in the block toolbar.
How To Make Notion Dark Mode
Like most modern applications, Notion also supports Dark Mode. Dark Mode, generally speaking, looks smarter than Light Mode and – according to some sources – is easier on the eye. If you spend all day looking at your computer screen and you want to do your eyes a solid, it might be worth switching Notion over to Dark Mode.
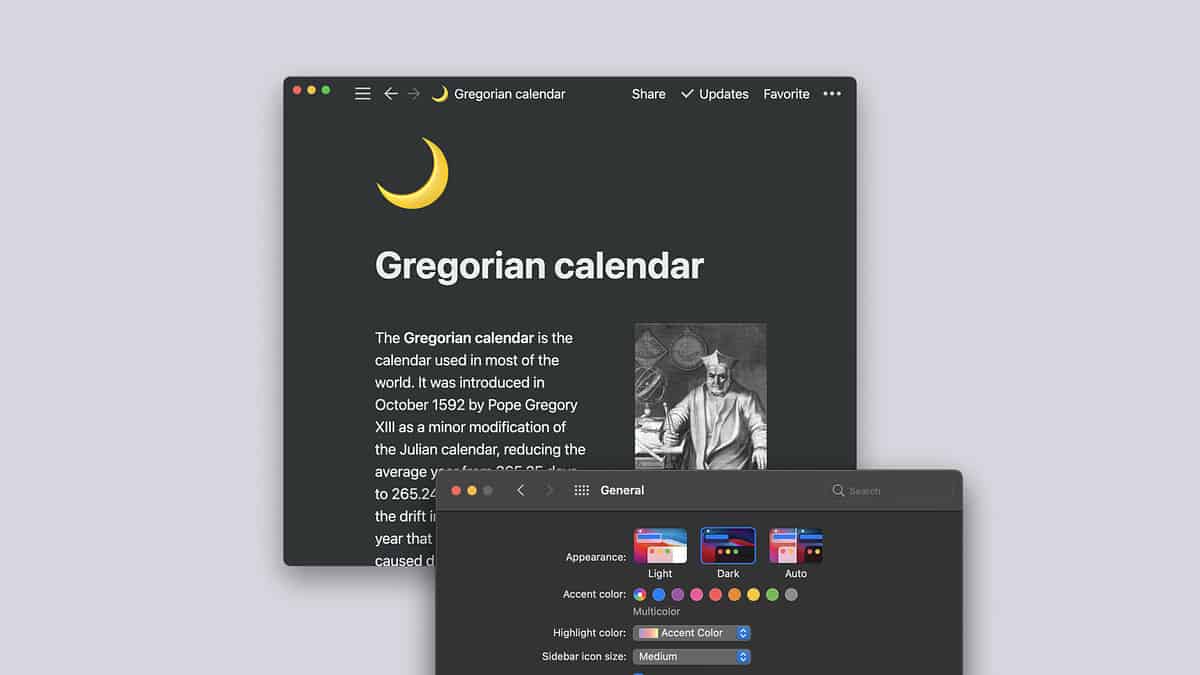
To enable Dark Mode in Notion, follow these steps:
- Open Notion on your device.
- Click on the “Settings & Members” option in the left-hand panel. This will open the settings menu.
- In the settings menu, locate the “Appearance” section.
- Under the “Appearance” section, you will see options for Light, Dark, and System modes.
- Click on “Dark” to enable Dark Mode. Notion will immediately switch to a dark color scheme.
If you choose “System”, Notion will automatically switch between Light and Dark modes based on your device’s system settings. Alternatively, you can use a keyboard shortcut to switch to Dark Mode: CNTRL + COMMAND + L.
How To Embed Google Calendar In Notion
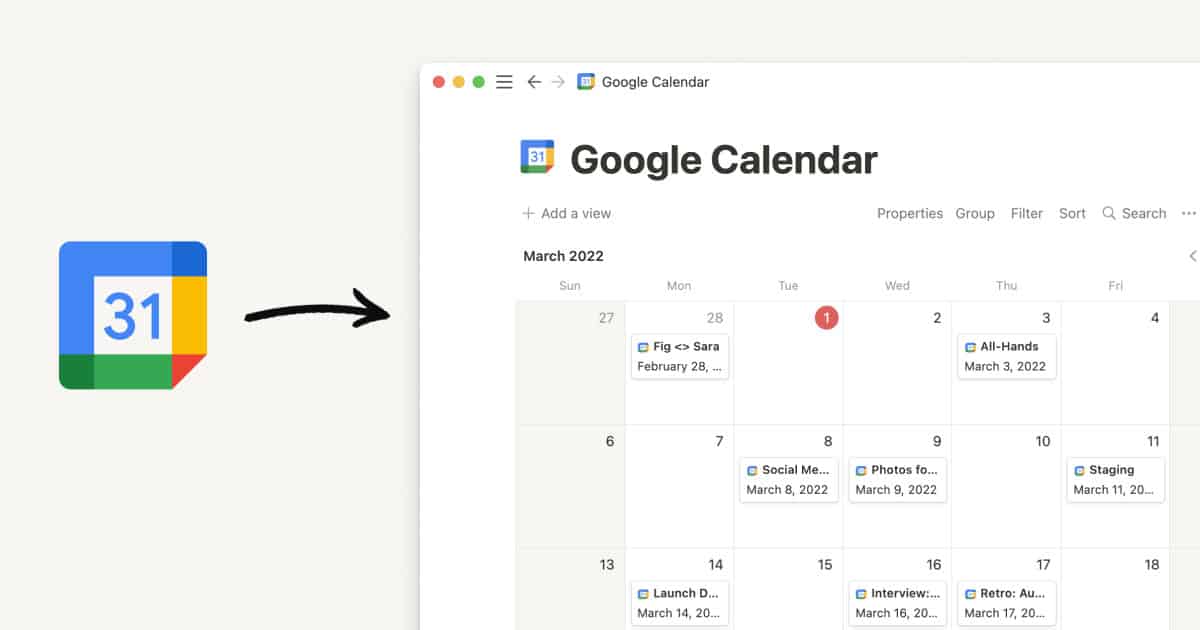
Notion doesn’t natively support Google Calendar integration due to Google’s restrictions on its API. There’s a workaround which involves embedding a public Google Calendar as an iFrame but this will make your Google Calendar public, so it should not be used for private or sensitive information.
Here’s how to do it:
- Make Your Google Calendar Public
- Go to Google Calendar in your web browser.
- Click on the three dots next to the calendar you want to embed, and select “Settings and sharing”.
- In the “Access permissions” section, check the box that says “Make available to public”. Click “OK” in the warning box that appears.
- Get the Embed Code
- Still in your calendar settings, scroll down to the “Integrate calendar” section.
- Copy the embed code provided in the “Embed code” field.
- Embed the Calendar in Notion
- Go to the Notion page where you want to embed the calendar.
- Click on the body of the page where you want the calendar to appear.
- Type “/embed” and press enter to create an embed block.
- Paste the embed code into the embed block and press “Embed Link”.
Your Google Calendar should now be embedded in your Notion page, and will update automatically as you add or change events in Google Calendar.
Again, please remember that this method involves making your Google Calendar public. If you have any private or sensitive information in your calendar, you may not want to use this method.
How To Undo In Notion
One of the most important features in any software is the ability to undo an action. In Notion, as with many other tools, this feature can be a lifesaver, helping you recover from accidental deletions or changes.
Here’s a detailed overview of how to undo actions in Notion:
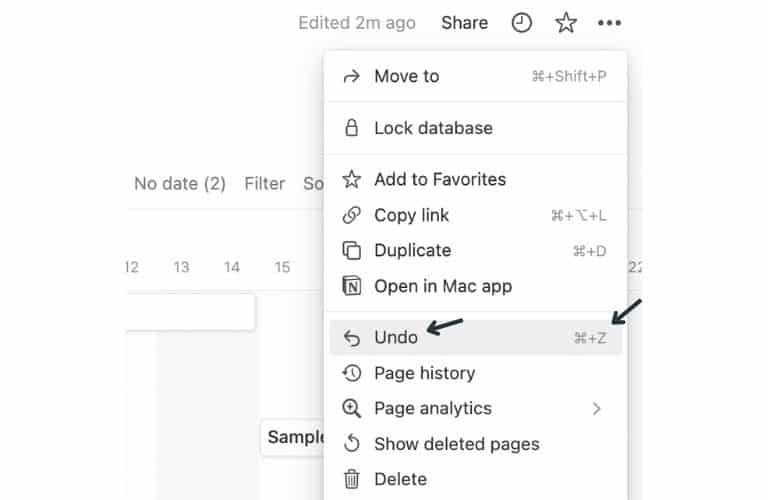
Keyboard Shortcuts
Notion supports keyboard shortcuts for undo and redo actions. These can be faster and more convenient than using the menu options.
- To undo an action, press Ctrl + Z on Windows or Cmd + Z on macOS. This will undo the most recent action.
- To redo an action (i.e., to “undo your undo”), press Ctrl + Shift + Z on Windows or Cmd + Shift + Z on macOS.
Undo Button
In addition to the keyboard shortcuts, Notion also provides an undo button in its menu. This can be especially helpful if you’re working on a touch device, or if you prefer using the mouse.
- Click on the “Undo” button located in the top right corner of the Notion interface. This will undo the most recent action.
- Note that the “Undo” button will be grayed out if there are no actions to undo.
History and Version Control
For more significant changes, or if you need to revert to an older version of a page, Notion’s version history feature can be very useful.
- Click on the “Updates” button in the top right corner of the Notion interface. This will open a sidebar displaying the edit history of the current page.
- Scroll through the history until you find the version of the page you want to revert to. Click on the timestamp to view that version of the page.
- If you want to revert to the selected version, click on the “Restore this version” button at the bottom of the sidebar.
How To Make Columns In Notion
Creating columns in Notion is quite simple and is a great way of making lots of information sit better on the page. By using columns, you can basically fit a lot of content in a much smaller space. For this reason, it is well worth learning how to make columns in Notion.
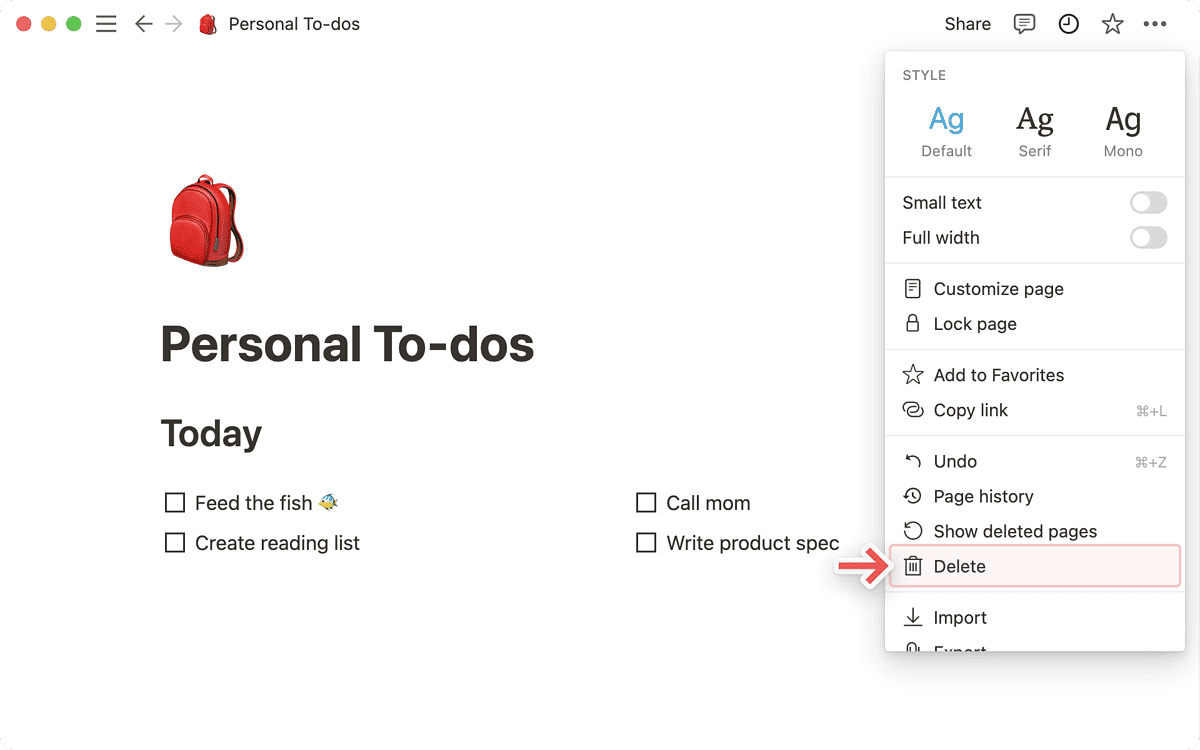
Here’s how to create columns in Notion:
- Create a New Block: First, you’ll need to create a new block, which will serve as the basis for your columns. To do this, simply click on the page where you want the columns to be and type “/text” to create a new text block.
- Add More Blocks: Now, you’ll want to add more blocks that will serve as your columns. To do this, create another text block by clicking on the page and typing “/text” again.
- Create the Column: To turn these blocks into columns, simply click and drag one block so that it’s next to the other block. As you drag the block, you’ll see a blue vertical line appear to the left or right of the existing block. Release the mouse button to drop the block, and it will be placed next to the existing block, creating a column.
- Resize Columns: You can resize your columns by hovering over the space between them until your cursor changes to a resize icon. Click and drag to adjust the width of your columns.
- Add Content to Columns: You can now add content to your columns just like you would with any other block in Notion. Simply click inside a column and start typing, or use the “/command” to add other types of blocks like images, lists, or embeds.
- Add More Columns: To add more columns, simply repeat steps 2-5. You can add as many columns as you like, but keep in mind that if you add too many, they may become too narrow to be useful on smaller screens.
How To Make A Notion Template
Creating templates in Notion can streamline your workflow, especially when you’re frequently generating similar pages or blocks.
This guide will take you through the process of creating, using, and sharing Notion templates.
Creating a Template
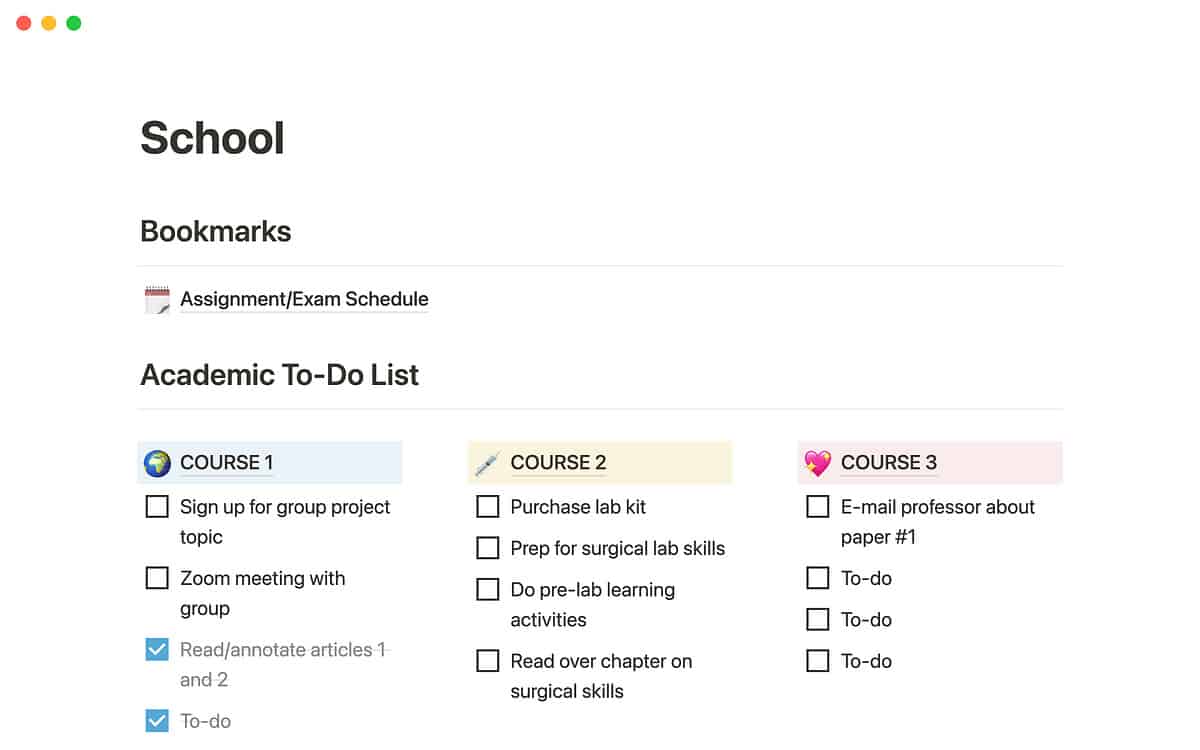
- Choose the location: Decide where you want to create your template. This could be within a workspace, a database, or a page, depending on your needs.
- Create a Template Button: Click on the body of the page and type “/template” then press Enter. This will create a Template Button block. Click on the “Untitled” part of the block and give your template a name.
- Add content to the template: Click on the body of the Template Button block and start adding the content you want in your template. This could include text, tables, toggles, images, and more. You can also use properties and formulas if you’re creating a template within a database.
Using a Template
Once your template is set up, using it is as simple as clicking the Template Button. This will create a new instance of your template, with all the content and structure you defined. You can then fill in or modify this content as needed.
Editing a Template
If you need to make changes to your template, you can do so by clicking on the “…” button on the Template Button block, then selecting “Edit”. This will open up the template for editing. Any changes you make here will be applied to all future instances of the template, but will not affect existing instances.
Sharing a Template
Notion also allows you to share templates with others. To do this:
- Click on the “…” button on the Template Button block, then select “Duplicate”.
- In the “Where” dropdown, choose “My templates”. This will save the template to your personal template library.
- Navigate to your template library by clicking on “Templates” in the left-hand sidebar.
- Find the template you want to share, click on the “…” button, then select “Share”.
- In the sharing settings, you can choose to share the template with specific people, with anyone with the link, or publicly on the web.
Advanced Notion Template Tips
- Nested Templates: You can create templates within templates for even more flexibility. For example, you might have a template for a project, with nested templates for individual tasks.
- Template in a Database: If you create a template within a database, you can use properties and formulas to automatically populate fields based on other data. For example, you might have a task template that automatically sets the due date to one week after the creation date.
- Template with Checkboxes: You can include checkboxes in your template for easy task tracking. For example, you might have a meeting notes template with a checklist of items to cover.
- Template with Links: You can include links in your template to quickly navigate to related pages or resources.
How To Add Spotify Playlist To Notion
If you like sharing or keeping logs of music you’re listening to, you can use Spotify Playlists in Notion. Adding them is fairly simple too, just follow the steps below:
- Access Spotify: Open Spotify and navigate to the playlist you want to embed in Notion.
- Get Playlist Link: Click on the three dots (…) next to the playlist name and select “Share,” then choose “Copy Playlist Link.”
- Go to Notion: Navigate to the Notion page where you want to embed the Spotify playlist.
- Add Embed Block: Click on the body of the Notion page and type “/embed” then hit Enter. This will create a new embed block.
- Paste the Link: Paste the copied Spotify playlist link into the embed block and hit “Embed Link.”
With your Spotify playlist embedded, you’ll be able to play songs directly from the playlist within Notion. You’ll need to be logged into Spotify to play songs in their entirety; If you’re not, you’ll only be able to play previews.
How To Use Notion As A Planner
Notion can be an extremely powerful tool for planning, thanks to its flexibility and a wide range of features as well as the fact that it integrates with loads of other tools. You can literally plan every facet of your life, your business, and even your hobbies and goals in Notion.
Here’s a guide on how you can use Notion as a planner:
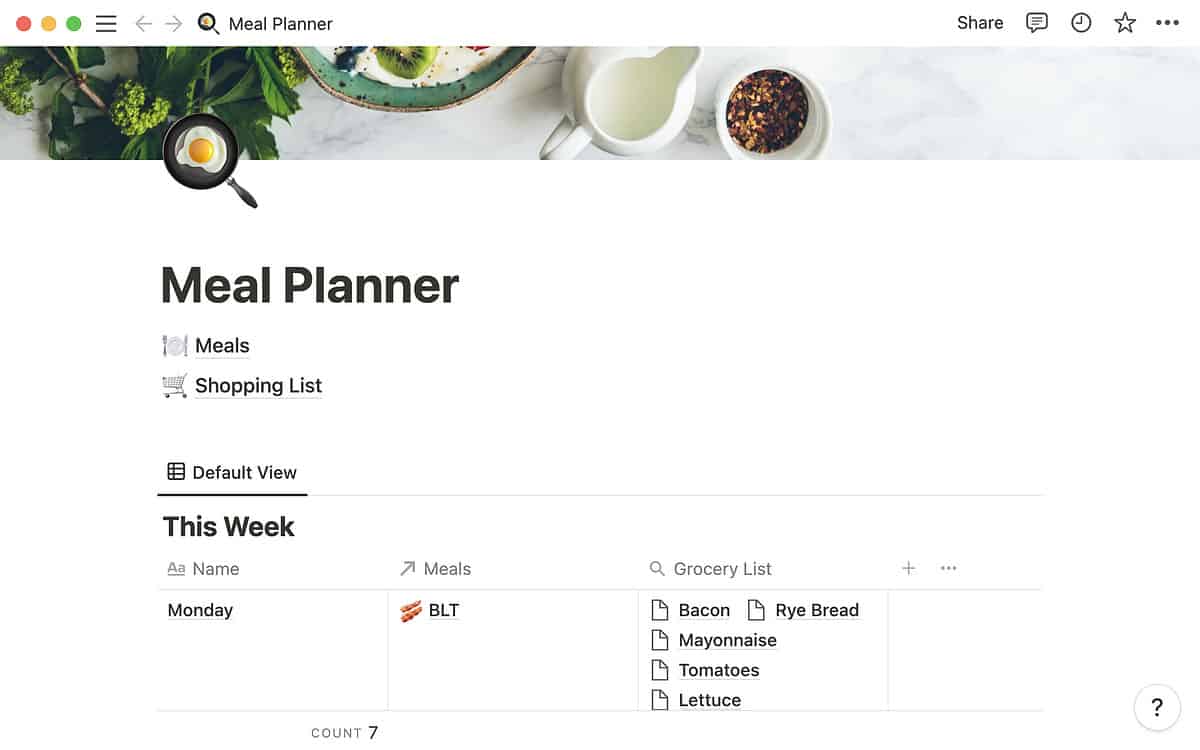
1. Set Up Your Workspace
Your workspace is your main hub in Notion, so it’s important to set it up in a way that suits your needs. You might want to create separate pages for different areas of your life (work, personal, hobbies), or you might prefer to have everything in one place. Experiment and see what works best for you.
2. Create a Calendar
Notion’s built-in calendar function is a great tool for planning. To create a calendar, simply click on the page where you want the calendar to be and type “/calendar” then hit Enter. You can then add events to the calendar by clicking on a date and adding a new entry. Each entry can be customized with text, images, links, and more.
3. Use Databases
Databases in Notion are powerful tools that can be used for planning. You could create a task database for managing your to-do list, a project database for tracking progress on different projects, or a habit tracker to keep track of your daily habits. To create a database, click on your page and type “/table” to create a table database or “/board” to create a board database, then hit Enter.
4. Create Templates
If you often find yourself creating the same types of entries or pages, templates can save you a lot of time. For example, you might create a template for your daily or weekly plan, or a template for project pages. To create a template, click on your page and type “/template” then hit Enter.
5. Integrate External Tools
Notion supports embedding from a wide range of external tools, so you can integrate other tools you use for planning. For example, you could embed a Google Calendar or a Trello board.
6. Customize Your Planner
One of the best things about Notion is its flexibility. You can customize your planner in any way you like, adding images, changing fonts and colors, and organizing your pages and blocks in a way that makes sense to you. You can also use Notion’s icons and cover images to visually distinguish different parts of your planner.
7. Review and Adjust
Finally, remember that your planner is a living document. It’s important to review it regularly and make adjustments as needed. As you use Notion more, you’ll get a better idea of what works for you and what doesn’t, and you can continuously refine your planner to better suit your needs.
By using Notion as a planner, you can keep all your tasks, events, projects, and plans in one place, helping you stay organized and focused. It may take a little time to set up and get used to, but once you do, it can be a highly effective tool for productivity.
Useful Resources
If you need more assistance getting started with Notion, here’s a complete beginner’s guide to setting up and using Notion. We also have a guide all about getting started with free and paid Notion templates.
