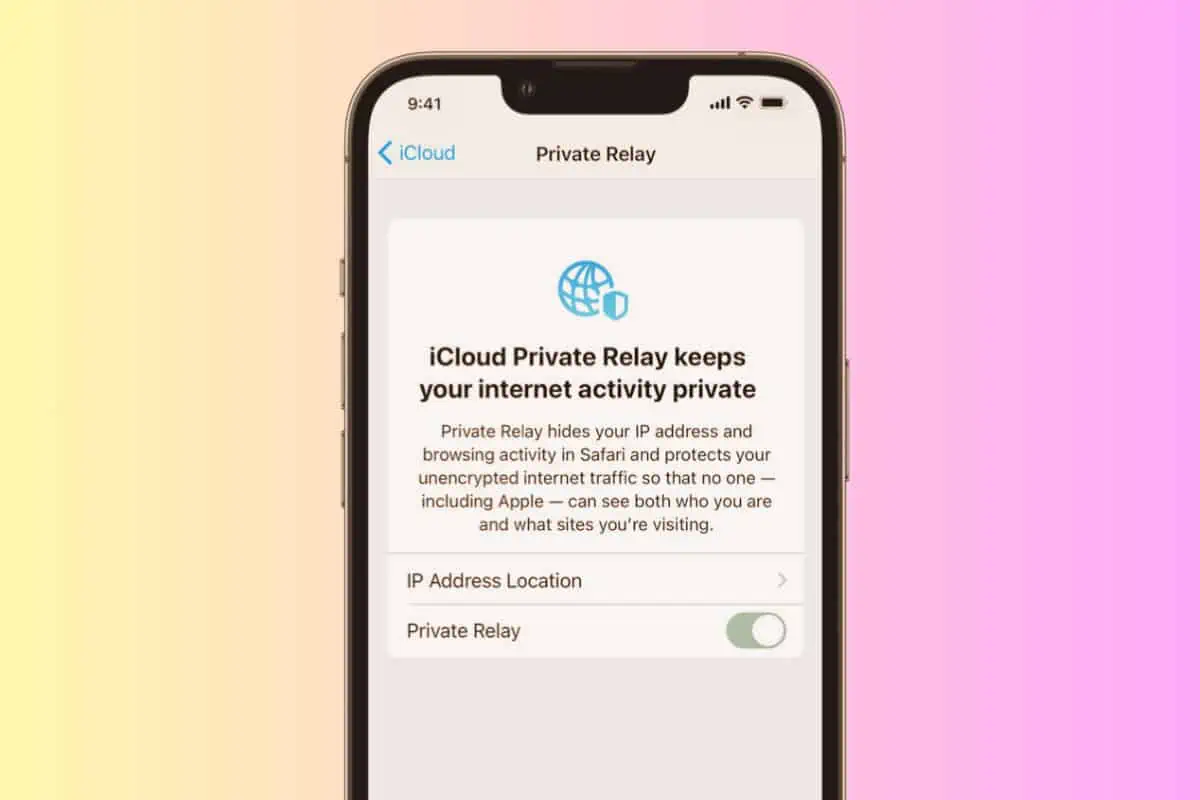
iCloud Private Relay lets you browse the internet more privately on your iPhone without using a VPN. Here’s how to use it…
A few years ago Apple launched the iCloud Plus service. It was a new subscription service from Apple that expanded on the features the free iCloud service offers. An iCloud Plus service plan added benefits to a user’s existing iCloud account by giving them more storage, offering HomeKit Secure Video, a custom email domain, and the ability to anonymize their iCloud email address via Hide My Email.
But there was one other iCloud Plus feature Apple introduced: iCloud Private Relay. Many referred to it as “Apple’s VPN”, though that’s not technically correct. So just what is iCloud Private Relay and why and how do you use it? Read on…

What Is iCloud Private Relay?
iCloud Private Relay is a feature included with an iCloud Plus subscription. You don’t need to use iCloud Private Relay, but if you care about your privacy, it’s a good idea to.
We’ve actually detailed just what iCloud Private Relay is before. You can read our iCloud Private Relay explainer here. But in short, iCloud Private Relay lets you keep your boring data safer from your IPS by obfuscating some of the information about you. As we explained in the iCloud Private Relay explainer:
“The aim of iCloud Private Relay is to hide your identity and browsing activity from your ISP and the websites you visit.
iCloud Private Relay does this by sending your IP address and the site you are visiting from your device to two relay servers. These relays form a dual hop architecture, and help keep your identity and traffic private.
It works like this: enter a web address in Safari. Apple encrypts this information so your ISP can’t see where you are visiting. It then sends this URL along with your IP address (which it needs to connect you to the website) to the first relay.
As your data is heading to the first relay, Apple can’t read the URL but it can read your IP.
At the first relay, Apple encrypts your IP, which it forwards to another relay. There, you’re given a temporary IP address and your destination URL is encrypted, which sent you on to your destination – the website.”
KnowYourMobile
All this means that when you are using iCloud Private Relay, no one – not your ISP or even Apple – knows your actual IP address or the websites you visit.
iCloud Private Relay: Requirements
iCloud Private Relay works on iPhones, iPads, and Macs. However, given the popularity of the iPhone, most people will use iCloud Private Relay on their iPhone.
The good news is Apple has made setting up iCloud Private Relay on your iPhone very easy. But before we get to those steps, know iCloud Private Relay does have some requirements:
- You must be logged into your iPhone with your iCloud account.
- You must be an iCloud Plus subscriber.
- You must be running iOS 15 or later. But it’s a good idea to be running the latest iOS operating system, which is currently iOS 16.4.
Now let’s see how to use iCloud Private Relay on your iPhone.
How To Use iCloud Private Relay On iPhone
Using iCloud Private Relay on your iPhone is easy:
- Open the Settings app.
- Tap your iCloud name at the top of the Settings app.
- Tap iCloud.
- Tap Private Relay.
- Toggle the Private Relay switch to ON (green).
- Now, tap IP Address Location.
- In the IP Address Location Settings, select wither Maintain general location, or Use country and time zone.
“Maintain general location” is good if you want websites to have a better idea of your true location, such as sites that show you local news. “Use country and time zone” is ideal if you want sites to have less of an idea of your true location.
And iCloud Private Relay is now set up!

