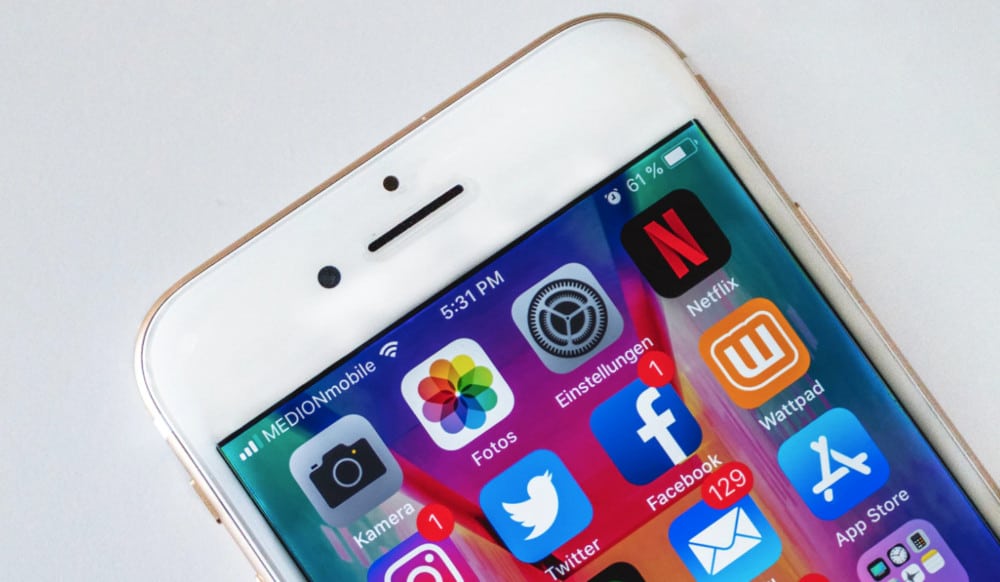
Why do people back their iPhones up? Simple: if you lose the phone, or it’s damaged, you cannot access all the important information that is stored on them. Doing regular backups of your iPhone ensures that, should the worst happen, you’re 100% covered – and you can still access all your most important data and pictures. While it might sound complex, backing up an iPhone is actually really simple…
Below we’ll detail the three most common methods for backing up an iPhone.
They’re all super-simple and easy to do, so your iPhone, by the end of this article, should be fully backed-up and ready to go.
How To Back Up iPhone

Method #1) iCloud – The Simplest Way
iCloud is Apple’s default cloud storage service. It works seamlessly on all iOS/macOS devices, so for many iCloud backups are the best option when backing up and iPhone.
How to backup iPhone to iCloud:
- Make sure you’re on a Wi-Fi network > Go to Settings & then Select iCloud > Hit “Backup” > Turn on “iCloud Backup” if it’s switched off > Select Backup Now > You can check the status by going to Settings > iCloud > Storage > Manage Storage
Things To Keep In Mind
iCloud is limited to 5GB of free storage, so you’ll want to invest in more. Don’t worry, it’s cheap – you can grab 50GB for $0.99 a month or 200GB of $2.99 a month.
Method #2 iTunes Backup – The Old School Method
Before the advent of iCloud, Apple’s preferred method for backing up iOS devices was iTunes. And in 2018, it still works pretty well too. Here’s what you have to do:
- Open iTunes > Connect Your iPhone To Your PC > Click File, then Devices, and then Backup or Backup Now (Inside Summary Page)
Things To Keep In Mind
This is a manual process and it takes a few minutes, depending on how much stuff your iPhone has on it.
In addition to this, you’ll need enough space on your PC’s hard drive as well.
If you understand all these, you’re good to go with an iTunes Backup
Method #3 Google Photos Backup For ALL Your Images
If you want to store all your images someplace, someplace safe, one of the best options is Google Photos, which can be downloaded via the App Store.
Once you have the app downloaded, simply select it as a backup for all your iPhone’s images and videos. This way, anytime you take a picture they’ll be automatically saved to Google Photos, where you can access them anywhere.
All you need is a Gmail account and a computer.
Dropbox and OneDrive are also decent options too, but I just tend to prefer the way the Google Photos app looks and works.
Need a new iPhone? Don’t wanna spend a fortune? You need to read this guide on how to save 40% on iPhones…

