Protect your iPhone from hackers and nosey friends with these tips on how to keep your iPhone secure.
It’s important to maintain good iPhone security to keep snoopers from accessing your devices. Here are six ways to keep your iPhone secure…
1. Activate Face ID Or Touch ID Right Now
All iPhones for the last ten years have had biometric authentication systems on them. These are either Touch ID or Face ID. Touch ID is the fingerprint scanner on the iPhone and Face ID is the facial recognition system on newer iPhones. If you haven’t set up either Touch ID or Face ID on your iPhone you are making a BIG MISTAKE. Do not only rely on a passcode to keep your iPhone secure.
MORE: Apple’s iPhone 11 Range Detailed In Full – Specs, Updates, Camera
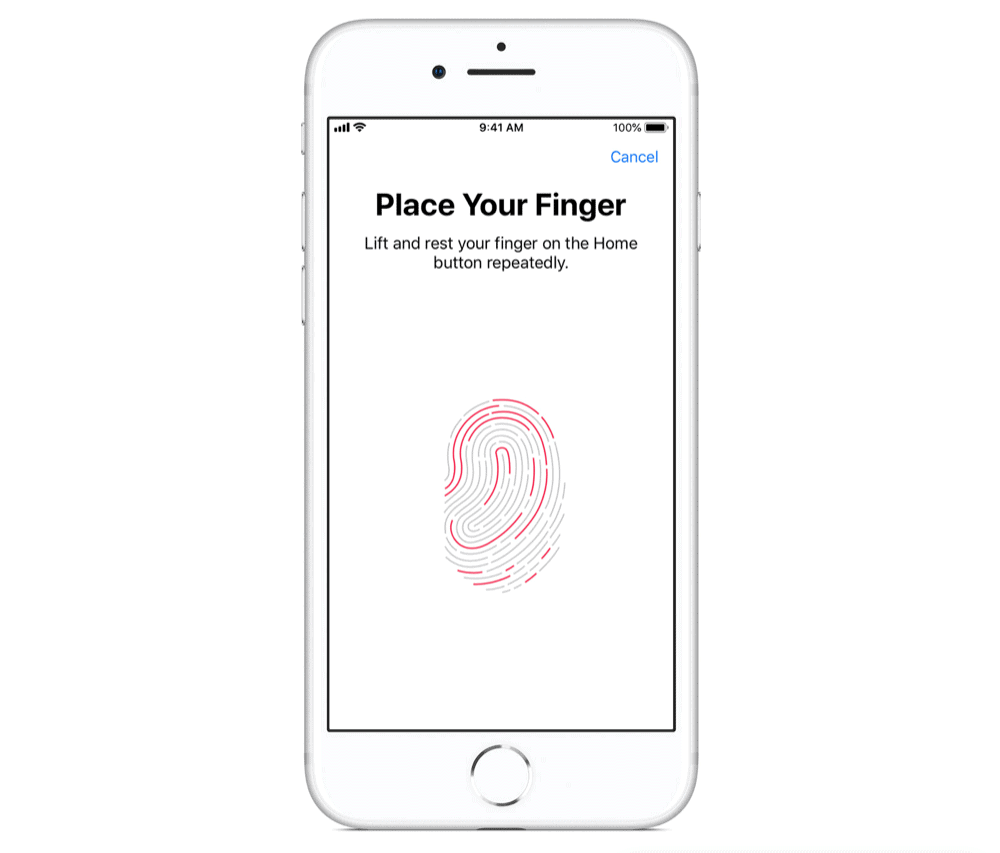
To set up Touch ID:
- Open Settings.
- Touch ID & Passcode.
- Follow the setup procedure.
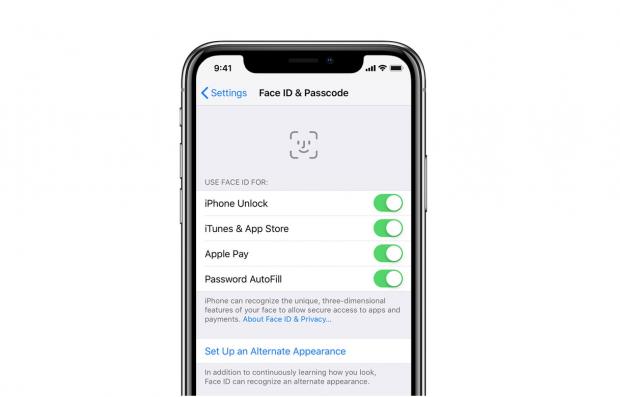
To set up Face ID:
- Open Settings.
- Tap Face ID & Passcode.
- Follow the setup procedure.
Either setup will take all of two minutes and at the end, your iPhone will be much more secure.
2. Require Attention For Face ID

The thing everyone wants to make sure is activated on their iPhones that support Face ID is the attention requirement. This feature means that Face ID doesn’t only need to see your face to unlock the iPhone, but it needs to see that you are actually looking at your phone in order for the device to be unlocked.
Apple built this option into Face ID so no one could simply take your iPhone while you were sleeping and hold it up to your face to unlock it. With the attention feature active, Face ID will require your eyes not only to be open but to be actively looking at your iPhone to unlock it.
To make sure this is turned on:
- Open Settings.
- Tap Face ID & Passcode.
- Make sure the “Require Attention for Face ID” switch is toggled to ON (green).
3. Disable Access To Secondary Features When Your iPhone Is Locked
Even though you have Face ID or Touch ID enabled, other people could theoretically interact with your iPhone even when it is locked if you have Access When Locked features enabled for Today View, Recent Notifications, Control Center, Siri, Reply With Message, Home Control, and Return Missed Calls. These features are enabled by default so it’s easy for the user to access commonly used controls without having to unlock his phone.
But this also leaves your iPhone open to being used (albeit in a limited manner) by other people. If you’re worried about that, it’s best to disable Access When Locked features. To do so:
- Open Settings.
- Tap Face/Touch ID & Passcode.
- Under “Allow Access When Locked” toggle the switches to OFF (white).

4. Set A Password, Not a Passcode
Face ID and Touch ID require you to set up a passcode that you can use to access your iPhone if Face ID or Touch ID ever fails to recognize your face. By default, most people set a 4-digit passcode. But that means there are only 9999 possible combinations people need to go through to gain access to your iPhone.
Instead, you might want to set up a password instead of a 4-digit pin. Yes, it’s more of a pain to type in a password, but it’s also much harder for an intruder to guess. To set one up:
- Open Settings.
- Tap Face/Touch ID & Passcode.
- Tap “Change Passcode” and follow the instructions.
5. Set Your iPhone Data To Automatically Erase
This is the “nuclear option”. You can set your iPhone to automatically erase all your data on it when someone enters your wrong pin or passcode ten times in a row.
This means that a thief at most has ten chances to gain access to your phone. If they can’t by then, they’ll never be able to gain access to your data because the iPhone will automatically delete everything.
To set this up:
- Open Settings.
- Tap Face/Touch ID & Passcode.
- Toggle the “Erase Data” switch to ON (green).
6. Enable USB Restricted Mode For The Most Security
Apple built a powerful security feature into the iPhone with iOS 12. This introduced what is known as USB Restricted Mode to the iPhone. In recent months companies have been making boxes that can be plugged into an iPhone’s USB port and crack an iPhone’s passcode.
To protect against this, Apple has introduced USB Restricted Mode. USB Restricted Mode disabled data sharing between an iPhone and a USB device if the iPhone has not been unlocked for more than an hour. This effectively renders the iPhone cracking boxes useless as they can take hours or days to crack a locked iPhone.
By default, USB Restricted Mode is enabled in iOS 12. But just in case you want to disable it–or make sure it hasn’t been disabled–go to the Settings app and tap Face/Touch ID & Passcode. Enter your passcode and then swipe down until you see a section titled “Allow Access When Locked”.
The last toggle in this section will be a field that says “USB Accessories”. The toggle next to this should be switched to OFF (white). This means USB Restricted Mode is enabled and devices can’t grab or share data from/to your iPhone if the iPhone has not been unlocked for more than an hour.

Your iPhone Getting Hacked Is A Very Real Security Threat
It seems not a week goes by where we hear about another security risk when it comes to our digital lives. Usually, these risks come from big data breaches–think a credit card company being hacked and the hackers making off with all your personal data.
Then there are other security risks popping up all the time. These include bugs found in popular phones, which allow malicious attackers to infiltrate your systems more easily. And of course, there are more personal attacks: those people that could get close enough to grab our phones and try to extract data from them. These attackers don’t even have to be hackers in the traditional sense. They might just be a nosey lover or family member who wants to see what’s on your iPhone.


