Here’s a quick and easy guide all about getting started with iPhone camera zoom, covering the different types, how it works, and when and where to use it…
Table of Contents
When it comes to smartphone photography, the iPhone has consistently set the bar high. Equipped with innovative camera features, loads of filter modes, and myriad settings and options, the iPhone offers photographers—whether hobbyists or professionals—an array of tools at their disposal.
Among these tools is the “zoom” feature, a feature that can transform the way you capture and perceive your surroundings. In this guide, we’ll explore the depths of the iPhone camera zoom, demonstrating how to use it and when it can make a real impact on your photography.
How Zoom Works on iPhone
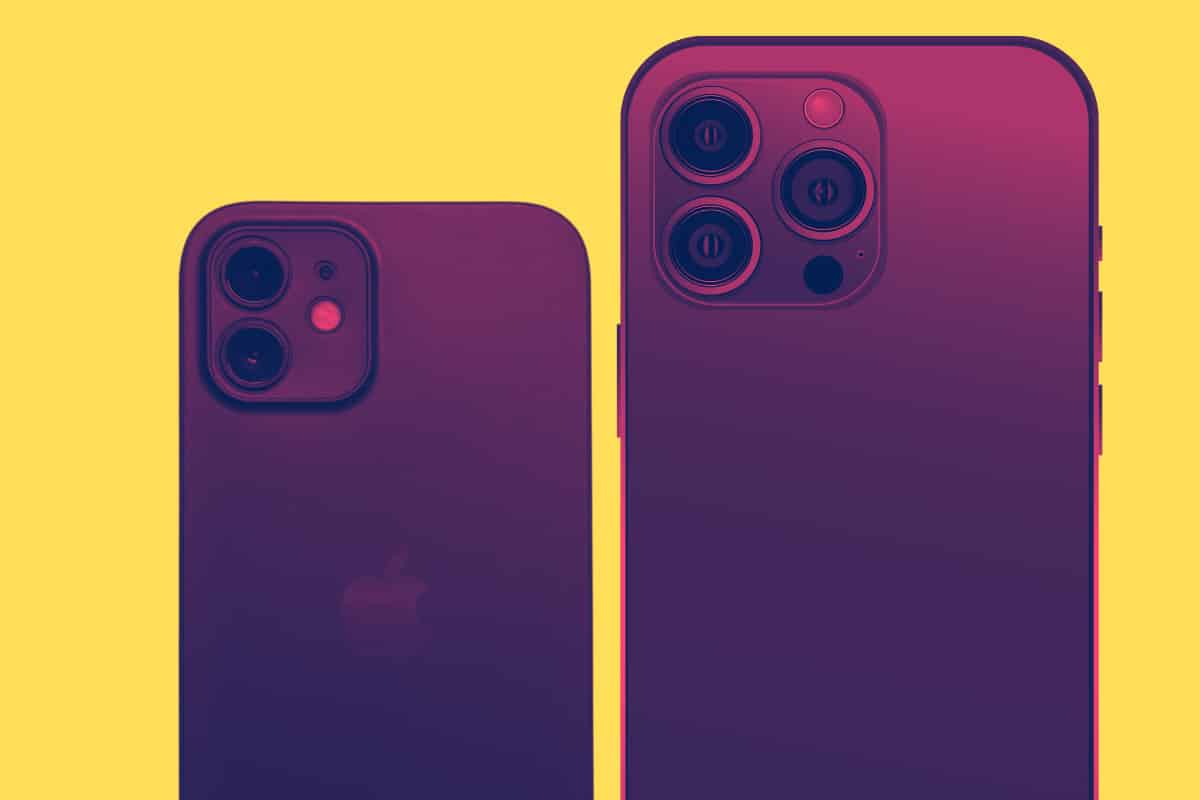
On the iPhone, the zoom feature in the camera app works through a combination of optical zoom and digital zoom capabilities. These allow you to get closer to your subject without needing to physically move closer. Let’s break down how each type of zoom functions:
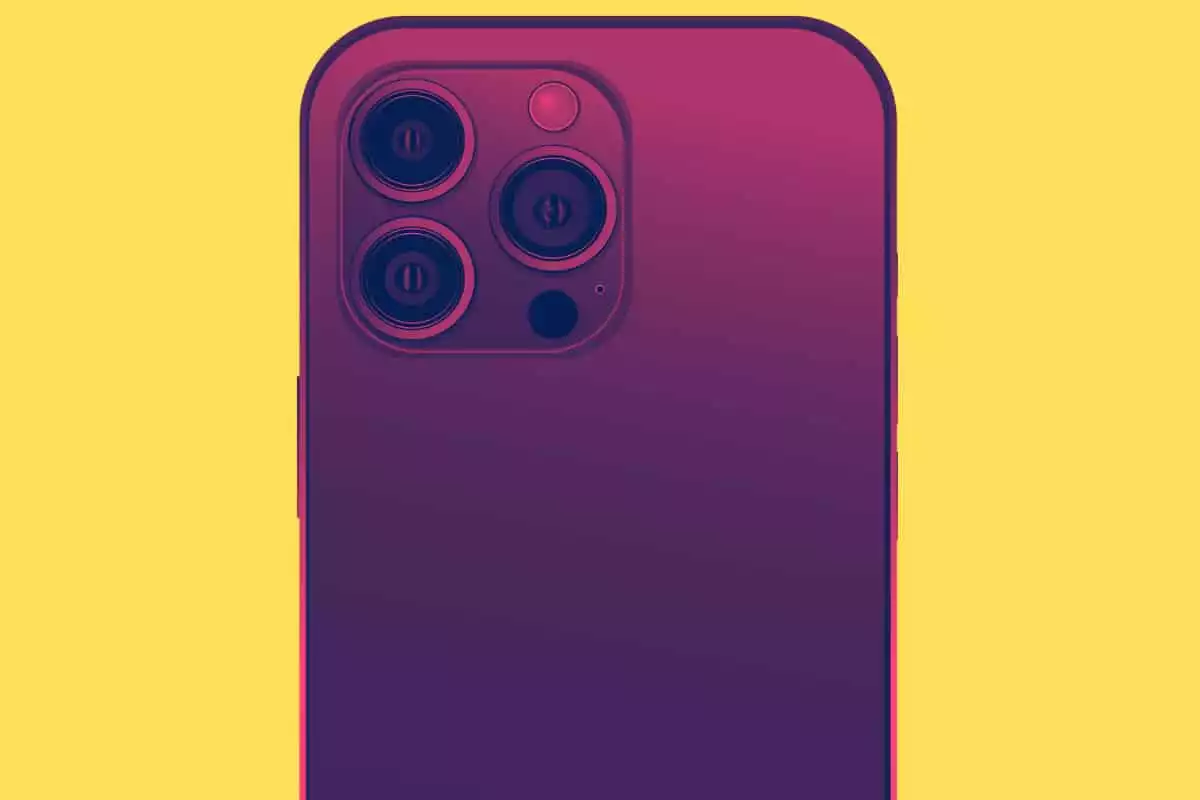
- Optical Zoom: Optical zoom is provided through the use of different lenses on iPhones with multiple rear cameras. When you switch from one camera to another, you are using optical zoom. For instance, if you have an iPhone with dual cameras and you switch from the 1x wide camera to the 2x telephoto camera, you’re utilizing optical zoom. This type of zoom maintains the image quality because it physically changes the lens through which the camera sees the scene. On iPhones with a single lens, optical zoom isn’t available, so they rely solely on digital zoom.
- Digital Zoom: Digital zoom works by cropping into the image and enlarging this cropped section to fill the frame. This can lead to a loss of quality, as digital zoom essentially enlarges the pixels, which can make the image look grainier and less detailed. The amount of digital zoom available varies between iPhone models, but it’s generally recommended to use it sparingly to avoid significant loss of image quality.
Starting from the iPhone 11 Pro and Pro Max, and continuing with all Pro models since, Apple introduced a new feature called ‘Zoom Wheel’ that allows users to smoothly transition between different lenses, making the zooming experience much more seamless and enjoyable.
It’s also worth mentioning that the iPhone camera software uses computational photography techniques to merge data from all available lenses and sensors when you take a photo, to achieve the best possible result.
iPhone Camera Zoom Beginner’s Guide

It’s simple to get started with the basic zoom feature on your iPhone. Open your camera app and find your subject in the viewfinder. To zoom in, place two fingers on the screen and spread them apart. To zoom out, pinch your fingers together. As you adjust, a zoom slider will pop up on the side of the screen. You can also use this slider for a more precise zoom adjustment. Just slide it up to zoom in and down to zoom out.
Understanding Optical and Digital Zoom
iPhones offer two types of zoom: optical and digital. Understanding the difference between them is key to maximizing your photo’s quality.
Optical zoom leverages the lenses in your iPhone to magnify your subject before capturing the image. This type of zoom maintains image quality because it doesn’t rely on software manipulation. It’s available on iPhones with more than one rear camera (like the iPhone 7 Plus and later).
To use optical zoom, tap the “1x” icon in the camera app to switch to “2x” (or more, depending on your iPhone model) for a closer view of your subject without losing any detail.
Digital zoom, on the other hand, crops into the image and then enlarges this cropped section to fill the frame. The further you digitally zoom in, the more you may notice a decrease in image quality. This is because digital zoom essentially enlarges the pixels, potentially leading to a grainier, less detailed image.
Leveraging Zoom for Creative Shots
Zoom isn’t just about getting closer to far-away subjects. It’s also a tool to bring creativity to your shots. Use it to highlight intriguing details, create a sense of depth, or even to compress the space in your images for a more compact composition.
But remember: as with any photography tool, less is often more. Overuse of digital zoom, in particular, can lead to subpar image quality. So, while it’s good to experiment with zoom, also take the time to physically move closer to your subjects when possible.
Zoom and Night Mode
With the introduction of Night mode on the iPhone 11 and later, low-light photography took a giant leap forward. When using zoom in low light, remember that Night mode automatically kicks in when the light levels drop.
But there’s a catch here: the zoomed-in camera (Telephoto) might not capture as much light as the primary wide camera. So, if you’re zooming in low-light conditions, ensure there’s enough light for the telephoto lens to capture a clear, well-lit image.
Thing To Keep In Mind?

Your iPhone’s ability to zoom in on objects, either digitally or optically, is a super-useful feature. But as with most features there’s a few things you need to keep in mind when using zoom in your photography.
Here’s several key considerations all beginners should keep in mind when first starting to use zoom to ensure you achieve the best quality images:
- Optical vs Digital Zoom: Be aware of the difference between optical and digital zoom. Optical zoom changes the perspective and maintains image quality, whereas digital zoom essentially crops and enlarges the image, which can result in lower image quality if overused.
- Lighting Conditions: Low light conditions can affect the quality of zoomed photos. Although iPhones have Night mode, the telephoto camera does not gather as much light as the wide-angle camera. Therefore, if you’re zooming in low light, ensure there’s enough light for a clear, well-lit image.
- Stability: The more you zoom in, the more apparent camera shake becomes. To reduce blur from the movement, you can use a tripod or rest your iPhone on a stable surface. Additionally, you can use the volume buttons to trigger the shutter instead of tapping the screen, as this reduces camera shake.
- Composition: Zoom can change the composition of your photo dramatically. When you zoom in, your field of view becomes narrower. This can be used creatively to isolate subjects or highlight details.
- Avoid Excessive Digital Zoom: Digital zoom can significantly reduce image quality, leading to pixelated or blurry photos. If you can, try to get closer to your subject instead of relying on digital zoom.
- Experiment with Zoom Levels: On newer iPhone models with multiple lenses, try out different zoom levels using the Zoom Wheel. This can open up new perspectives and bring a different feel to your images.
- Post-Processing: Keep in mind that if a photo is not perfect straight out of the camera, you can often improve it by cropping, adjusting brightness, contrast, and other parameters in your preferred photo editing app.
Need more photography tips? Check out our complete beginner’s guide to Apple’s iPhone camera.


