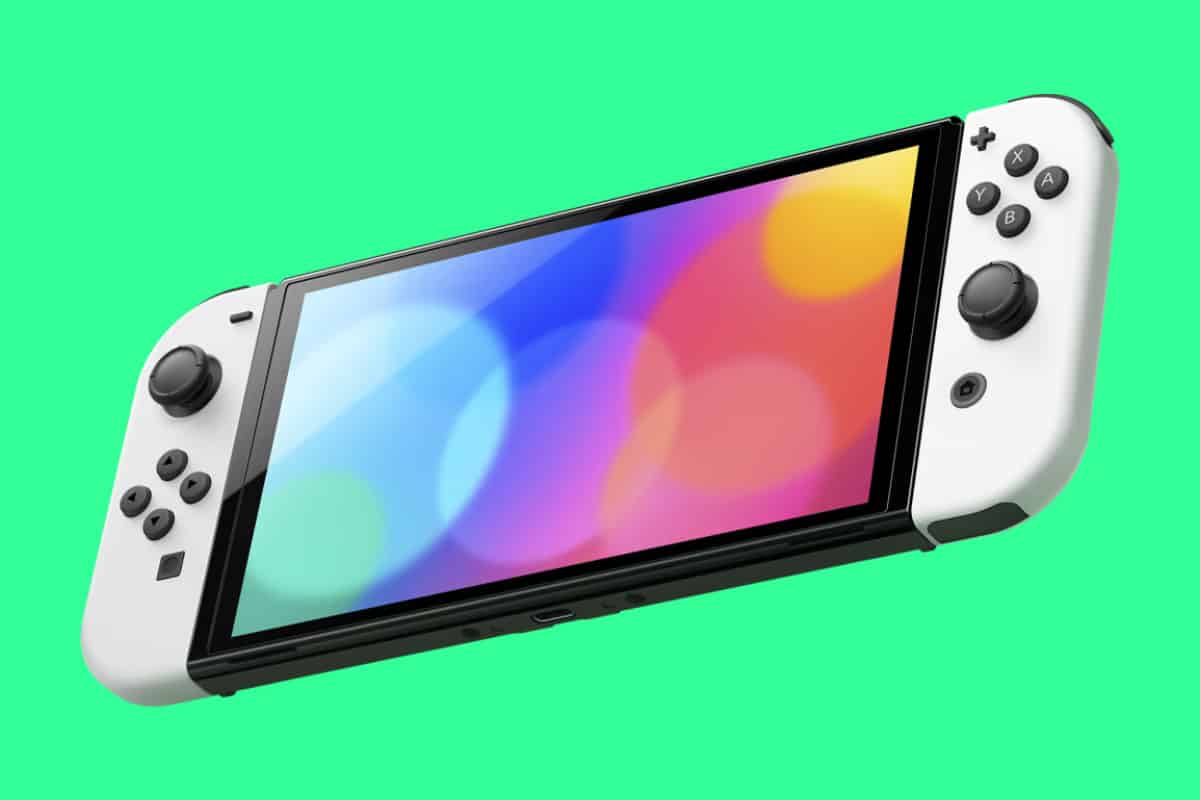
Here’s a quick and simple guide all about diagnosing and dealing with screen issues on your Nintendo Switch, including dead pixels and screen burn-in…
Screen Issues: How to Deal with Dead Pixels or Screen Burns
Screen issues like dead pixels or screen burns can be a nuisance and affect your Nintendo Switch gaming experience. Joy Con drift is annoying but fixable but when your screen is on the fritz, that’s when it is time to start getting worried.
This guide will help you identify and fix these common screen problems with the Nintendo Switch. As of right now, the two most common Nintendo Switch screen issues are as follows:
Dead Pixels and Screen Burns
- Dead Pixels: These are pixels on the LCD screen that are not functioning and appear as tiny black or colored dots.
- Screen Burns: This occurs when a static image gets burned into the display, leaving a faint but permanent mark.
How to Fix Dead Pixels

Dead pixels can be a significant concern for Nintendo Switch owners, affecting both gameplay and the overall user experience. The Nintendo Switch uses an LCD screen, making it susceptible to this issue. This guide aims to provide a comprehensive look at dead pixels on the Nintendo Switch, including what they are, why they occur, and what actions you can take.
What Are Dead Pixels?
A dead pixel, also known as a defective pixel, is a pixel on the LCD screen that doesn’t function correctly. It can appear as a dark dot if it’s entirely non-functional or as a bright dot stuck on a particular color. Dead pixels can be particularly distracting, especially when they are noticeable during gameplay or video playback.
Nintendo’s Stance on Dead Pixels
Nintendo does not have a specific policy in place for dead pixels on the Nintendo Switch. According to their support page, “Small numbers of stuck or dead pixels are a characteristic of LCD screens. These are normal and should not be considered a defect.” This stance has been a point of discussion and concern among users, as highlighted in various Reddit threads.
Industry Standards and Policies
The “what classes as a defect” policy for dead pixels varies from company to company. Some companies have a threshold for the number of dead pixels that trigger a defect classification. These policies may also consider the location of the pixels on the display and how many are clustered together. Nintendo’s lack of a formal policy on this issue puts the onus on the consumer to decide what action to take.
What Can You Do?
- Check Warranty: Even though Nintendo doesn’t consider a small number of dead pixels as a defect, if your device is under warranty, you may still attempt to get a replacement.
- Consumer Rights: Depending on your jurisdiction, consumer protection laws might offer some recourse.
- Manual Pressure: Applying gentle pressure on the dead pixel with a soft cloth can sometimes reactivate it. However, be cautious not to press too hard and cause further damage.
- Professional Repair: If the issue is severe and distracting, seeking professional repair services may be an option.
- Community Advice: Online forums and Reddit threads can offer DIY solutions and advice from users who have faced similar issues.
Dead pixels are a known issue with LCD screens, including the Nintendo Switch. While Nintendo does not have a formal policy regarding dead pixels, that doesn’t mean consumers are without options. \
From checking your warranty to understanding consumer rights and seeking community advice, there are various avenues you can explore to address this issue.
- Check Warranty: If your Nintendo Switch is still under warranty, consider getting a replacement.
- Pixel Refreshers: Some software tools can “refresh” your screen and fix dead pixels.
- Manual Pressure: Apply gentle pressure on the dead pixel with a soft cloth. Be careful not to press too hard.
How to Fix Screen Burn In

The Nintendo Switch has seen various iterations, with the most recent being the Nintendo Switch OLED model. This new version boasts a stunning 7-inch OLED screen, offering vibrant colors and enhanced contrast.
However, the OLED technology comes with its own set of challenges, notably the potential for screen burn-in. This guide aims to provide comprehensive solutions for dealing with screen burn-in on both the OLED and LCD versions of the Nintendo Switch.
What is Screen Burn-In?
Screen burn-in occurs when a static image gets “burned” into the display, leaving a faint but permanent mark. This issue is more prevalent in OLED displays due to the organic materials used in the pixels but can also occur, albeit less frequently, in LCD screens.
How To Fix Screen Burn In on Nintendo Switch OLED: Preventative Measures and Fixes
Fix #1: Auto Brightness Function
- How to Enable via System Settings
- Go to the Home Menu and select System Settings.
- Choose Screen Brightness.
- Enable Auto-Brightness Adjustment and click OK.
- How to Enable via Quick Settings Menu
- Press and hold the Home Menu button to access the Quick Settings Menu.
- Click Auto-Brightness and select OK.
Fix #2: Turn Off When Not in Use
To prevent screen burn-in, it’s advisable to turn off the Nintendo Switch OLED when it’s not in use.
Fix #3: Take Breaks
Taking breaks during extended gaming sessions can also prevent screen burn-in. This is particularly important for games that display static elements for long periods.
Fix #4: Screen Burn-In Reduction
- Navigate to the Home Menu and select System Settings.
- Scroll down to TV Settings.
- Enable Screen Burn-In Reduction and click OK.
Fix #5: Auto-Sleep Function
- In the Home Menu, go to System Settings.
- Select Sleep Mode.
- Choose the Auto-Sleep option and set the time before the console goes into sleep mode. Select OK.
LCD Version: General Tips
While the LCD version of the Nintendo Switch is less susceptible to screen burn-in, it’s still advisable to take preventative measures such as adjusting brightness settings and turning off the console when not in use.
- Screen Timeout Settings: Adjust the screen timeout settings to ensure the display turns off when not in use.
- Screen Burn-in Apps: Use apps designed to fix screen burns by displaying a sequence of colors.
- Warranty Replacement: If the issue is severe, check if your warranty covers a screen replacement.


