In this quick and easy guide, we’ll show you the three main ways of slowing down video on iPhone as well as the creative benefits of doing so, and how to share your creation with others…
Table of Contents
Whether you’re trying to emphasize a key event, create a sense of suspense, or add an artistic touch to your footage, slowing down your videos is a potent storytelling tool. Alongside other tools inside your iPhone like RAW, the extent of the editing you can do on your iPhone alone is staggering.
This comprehensive guide will teach you all you need to know about understanding and manipulating video playback speeds on iPhone.
We will discuss the built-in iPhone video features that can help you slow down your videos and how to use them effectively. After that, we’ll look at the possibilities offered by iMovie, a powerful tool that is completely free to use on iPhone, iPad, and Mac computers.
Let’s do this…
Understanding Video Playback Speeds
Video speed, put simply, is the rate at which consecutive frames in a video are displayed. The standard playback speed is known as “real time,” which is typically 24, 30, or 60 frames per second (fps), depending on your camera settings and the desired video aesthetic.
Slowing down a video essentially reduces the speed at which the frames appear, creating a “slow-motion” effect. This can intensify the emotion of a scene, highlight intricate details, or just create a fascinating visual for your viewers to enjoy.
Built-in iPhone Video Features

The iPhone has an excellent selection of in-built video editing tools. One such feature is the video speed control. This function allows you to slow down or speed up your video playback, offering you the ability to manipulate time within your video clips directly from your iPhone.
These controls are straightforward to use and can be accessed in the ‘Edit’ option of your chosen video. But, how does one exactly slow down a video using these tools? Read on to find out.
Basics of Slowing Down Videos on iPhone
To slow down a video on your iPhone using the built-in tools, follow these steps:
- Open your Photos app and choose the video you want to edit.
- Tap ‘Edit’ in the top right corner.
- Select the time icon (it looks like a clock).
- Drag the slider to the left to slow down the video. You’ll see the number decrease, indicating the slowdown.
Sometimes, you might face issues like the video not slowing down as much as you’d like, or the slow-motion effect not applying properly. Most often, these issues are due to the original video’s frame rate. If the video was recorded at a low frame rate (e.g., 24 fps), it might not look good in slow motion. For best results, try using videos recorded at higher frame rates (60 fps or more).
Using iMovie to Slow Down Videos
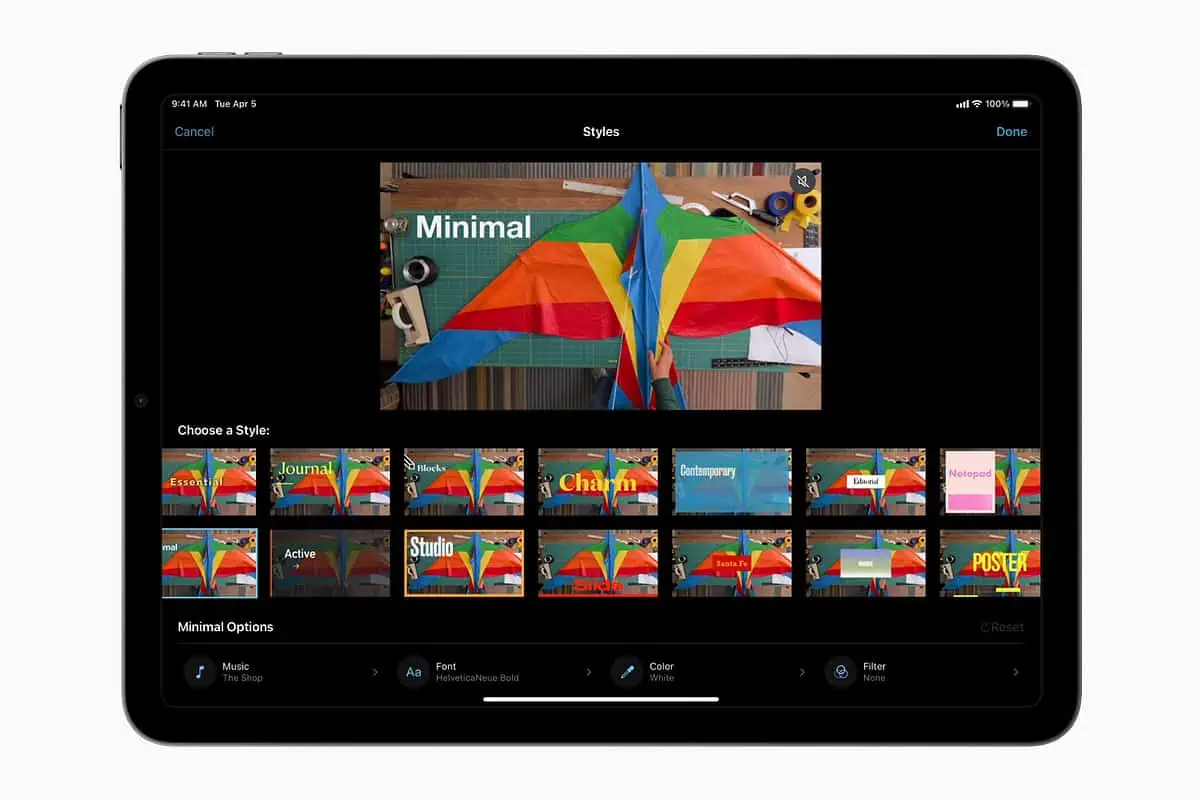
If you want more advanced control over your video’s speed, iMovie is a great tool to use. Here’s how you can slow down a video using iMovie:
- Open the iMovie app and create a new project.
- Import the video you want to slow down.
- Select the video in your timeline, then tap the speed button (it looks like a speedometer).
- Move the slider towards the turtle icon to slow down your video.
- Once you’re satisfied with the speed, tap ‘Done’ to save your project.
Using iMovie can give you more precise control over the slow-motion effect, and it’s perfect for those times when the built-in iPhone features just don’t cut it.
Troubleshooting common iMovie issues
If you encounter issues while using iMovie, such as the app crashing, video not importing correctly, or problems with saving your project, try restarting the app and your device. If the problem persists, you may need to reinstall the app or contact Apple Support for further assistance.
Other Apps for Slowing Down Videos
While iMovie is an excellent tool, it’s not the only one out there. Apps like Adobe Premiere Rush, Slow Fast Slow, and Videoshop also offer great features for slowing down your videos. Depending on your needs and level of proficiency, one of these might suit you better.
Advanced Techniques for Slowing Down Videos
Beyond merely slowing down videos, there are professional techniques that can make your slow-motion videos stand out. Techniques like speed ramping, frame blending, and time remapping can significantly enhance your videos.
Ramping, Frame Blending & Time Remapping Explained
- Ramping: Also known as speed ramping, it is a cinematic technique where the speed of the video clip changes within the shot. This effect can be used to seamlessly transition from regular speed to slow motion or vice versa, creating a dramatic and stylish effect.
- Frame Blending: This technique is used when altering the speed of a video clip, and there aren’t enough frames to maintain smooth playback. Frame blending creates new intermediary frames between existing ones to provide a smoother appearance when the video is played back at a different speed.
- Time Remapping: This technique allows editors to manipulate the timing of specific parts of a video clip. With time remapping, you can speed up, slow down, reverse, or even freeze certain sections of a clip while keeping others at their original speed, enabling complex and visually engaging temporal effects.
While they may require more advanced apps like Adobe After Effects, basic versions of these techniques can be achieved using your iPhone and the right editing tools.
Saving and Sharing Slow-Motion Videos
Once you’ve edited your video, tap ‘Done’ and then ‘Share’ to save your creation. You can save it to your iPhone’s camera roll or directly share it on social media platforms like Instagram, Facebook, or Twitter.
In some instances, you might encounter problems with saving or sharing. Check your device storage and internet connection – these are common culprits for experiencing errors when trying to share something.


