


A refurbished iPhone delivers flagship-grade performance, premium build quality, and up to six years of iOS software support at 30–50% below the new price. For most buyers, that combination beats a brand-new budget Android on almost every metric that matters long-term.
No manufacturer makes the refurbished market work harder for the consumer than Apple. The combination of long software support windows, a single consistent OS, and premium hardware that ages well means a two-or-three-year-old iPhone still feels fast, still gets security patches, and still holds resale value. Browse the best refurbished phones available right now and iPhones dominate the upper end of every value bracket — and for good reason.
If you are choosing between refurbished iPhone models, our iPhone feature guide breaks down the features worth paying for, from ProMotion and USB-C to Apple Intelligence and 48MP cameras.
Yes — more convincingly than almost any other smartphone brand. Apple's iOS support window routinely runs five to six years from a device's original launch date. That clock does not reset when you buy the phone second-hand, which means a refurbished iPhone 15 purchased today still has years of guaranteed major iOS updates and monthly security patches ahead of it.
The refurbished status itself adds minimal risk when you buy from a reputable seller. A proper refurbisher will have tested the logic board, inspected or replaced the lithium-ion battery, wiped all personal data, and graded the chassis before it ships. Apple's own certified refurbished programme goes further — replacing the outer shell and battery entirely, then covering the device with a one-year warranty. You get the same iOS experience as a new unit at a fraction of the price.
Apple supports iPhones longer than any Android manufacturer. While Google now promises seven years on Pixel 8 and newer, Apple has been quietly delivering five-to-six-year support windows for years — and has a track record of actually following through. The iPhone 12, launched in 2020, still runs iOS 18. That consistency is why iPhone software longevity is one of the strongest arguments for buying Apple refurbished over any alternative.
Apple designs its own silicon. The A15 Bionic inside the iPhone 13 series still outperforms the processors found in brand-new mid-range Android handsets in 2026. Buy a refurbished iPhone 15 and you get the A16 Bionic — a chip that will stay capable well into the next decade. Performance degradation on iPhones is largely a battery issue, not a processor one, which means a battery replacement often restores a device to near-new responsiveness.
Apple's image processing pipeline — computational HDR, Smart HDR, Photonic Engine on iPhone 14 and newer — keeps older iPhones competitive with current mid-range rivals. The cameras in the iPhone 15 Pro Max represent some of the best mobile photography hardware ever shipped, including a 5x periscope telephoto lens that still leads the field. On a refurbished handset, you access that technology at a price point where new phones use plastic and basic sensors.
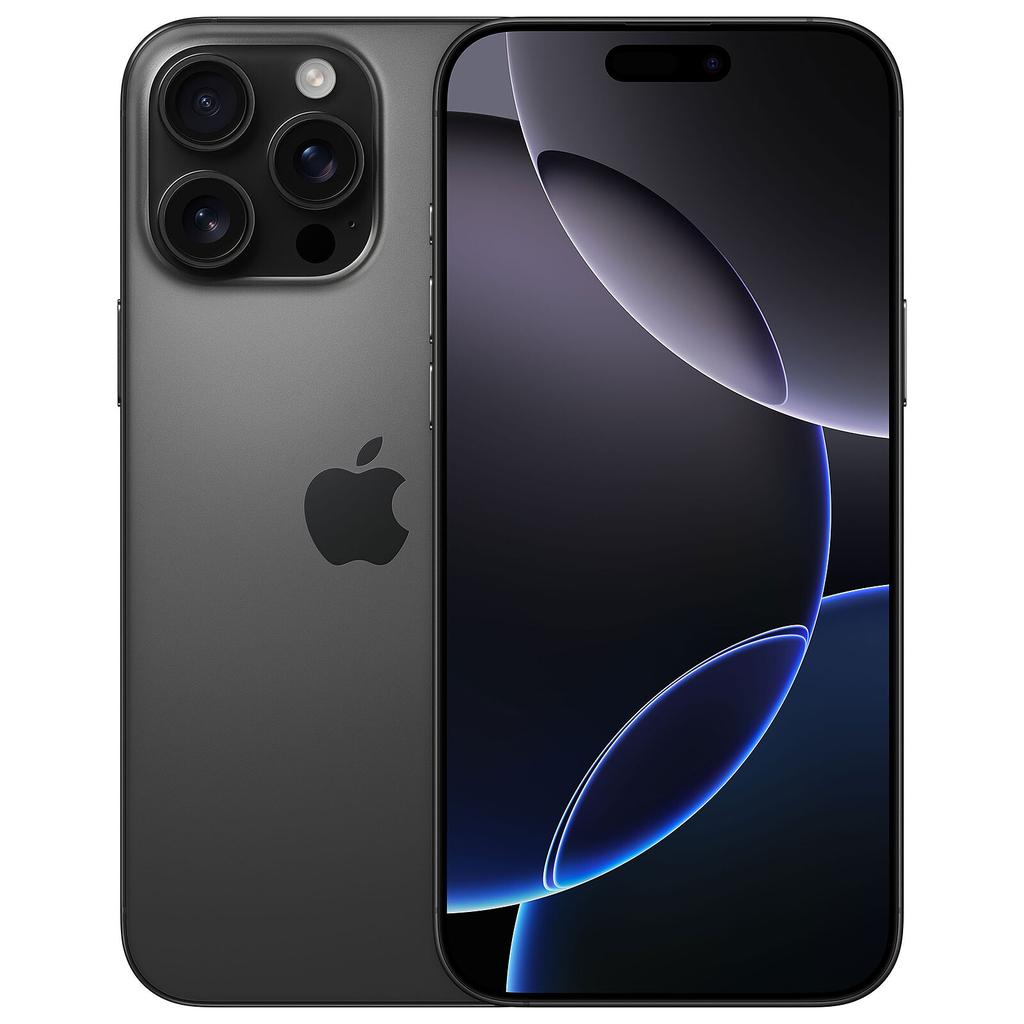
Ceramic Shield front glass, aerospace-grade aluminium frames, and IP68 waterproofing are standard across the iPhone 15 lineup. These are materials that refurbishers can clean, grade, and repack without losing structural integrity. A refurbished iPhone 15 in Grade A condition is, in practical terms, indistinguishable from new.
The lithium-ion battery inside any used iPhone degrades with each charge cycle. iOS reports battery health as a percentage — anything below 80% will trigger performance throttling and noticeably reduced all-day stamina. Always confirm battery health before buying, or verify that the seller has installed a replacement cell. Apple-certified refurbished units always include a new battery; third-party refurbishers vary, so read the listing carefully.
Face ID and Touch ID on iPhones are paired to specific hardware components during manufacture. A repair that replaces the face sensor array or Home button without using Apple's proprietary tools will break biometric functionality. Ask the seller explicitly whether Face ID or Touch ID is fully operational — any reputable refurbisher will confirm this in the listing.
Anything older than the iPhone 12 is approaching or at the edge of Apple's support window. iOS 18 dropped support for the iPhone 11 series. Avoid purchasing anything older than an iPhone 12 as a primary device — and treat the 12 itself as a short-term buy given that its support window will close within the next update cycle or two.
Always verify that the device is not tied to a previous owner's Apple ID. A reputable seller guarantees this. A private or unverified seller may not — and an activation-locked iPhone is essentially a very expensive paperweight until unlocked. This is the single biggest risk in the refurbished iPhone market and the clearest reason to stick with established, graded refurbishers rather than private listings.
| Feature | Refurbished iPhone 15 | New Entry-Level Android |
|---|---|---|
| Software updates | 5–6 years total from launch | Often 2–3 years on budget models |
| Chip performance | A16 Bionic — class-leading | Entry-level chip, may lag over time |
| Camera processing | Photonic Engine, Smart HDR | Basic processing, limited low-light |
| Build quality | Ceramic Shield, aluminium, IP68 | Often plastic chassis, no IP rating |
| OS experience | Clean, consistent iOS | Custom Android skin, variable bloat |
| Battery confidence | Check health; certified units include new battery | New cell, full capacity |
| Ecosystem | iCloud, AirDrop, iMessage, Apple Watch compatible | Varies by manufacturer |
| Warranty | 12–24 months from reputable refurbishers | Full manufacturer warranty |
In everyday use, a refurbished iPhone 15 consistently outperforms a new entry-level Android on speed, camera output, software longevity, and build feel. The only genuine tradeoff is the closed iOS ecosystem — if you prefer Android's flexibility, a refurbished Google Pixel is the strongest alternative.
For budget-friendly used phones specifically, the iPhone 14 and 14 Plus offer more long-term value than almost anything new at a comparable price point.
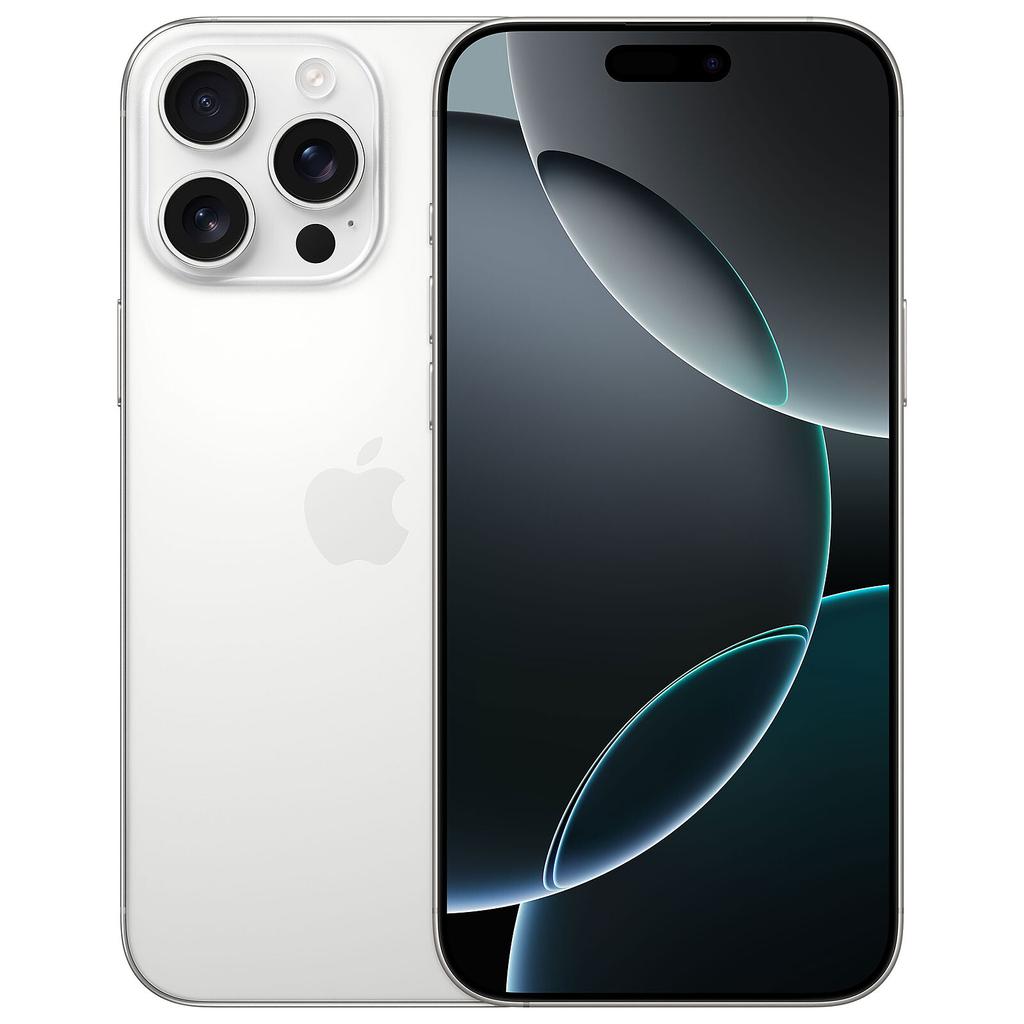
The iPhone 15 base model is our primary recommendation for the majority of people. It carries the A16 Bionic chip, the 48MP main sensor with second-generation Photonic Engine processing, USB-C charging, and Dynamic Island — all meaningful upgrades over the 14 generation. It will receive iOS updates well into the 2030s. In the refurbished market it sits at a price point that makes it genuinely exceptional value: you get a near-current flagship for significantly less than a new mid-range handset.
Browse iPhone 15 Plus deals →
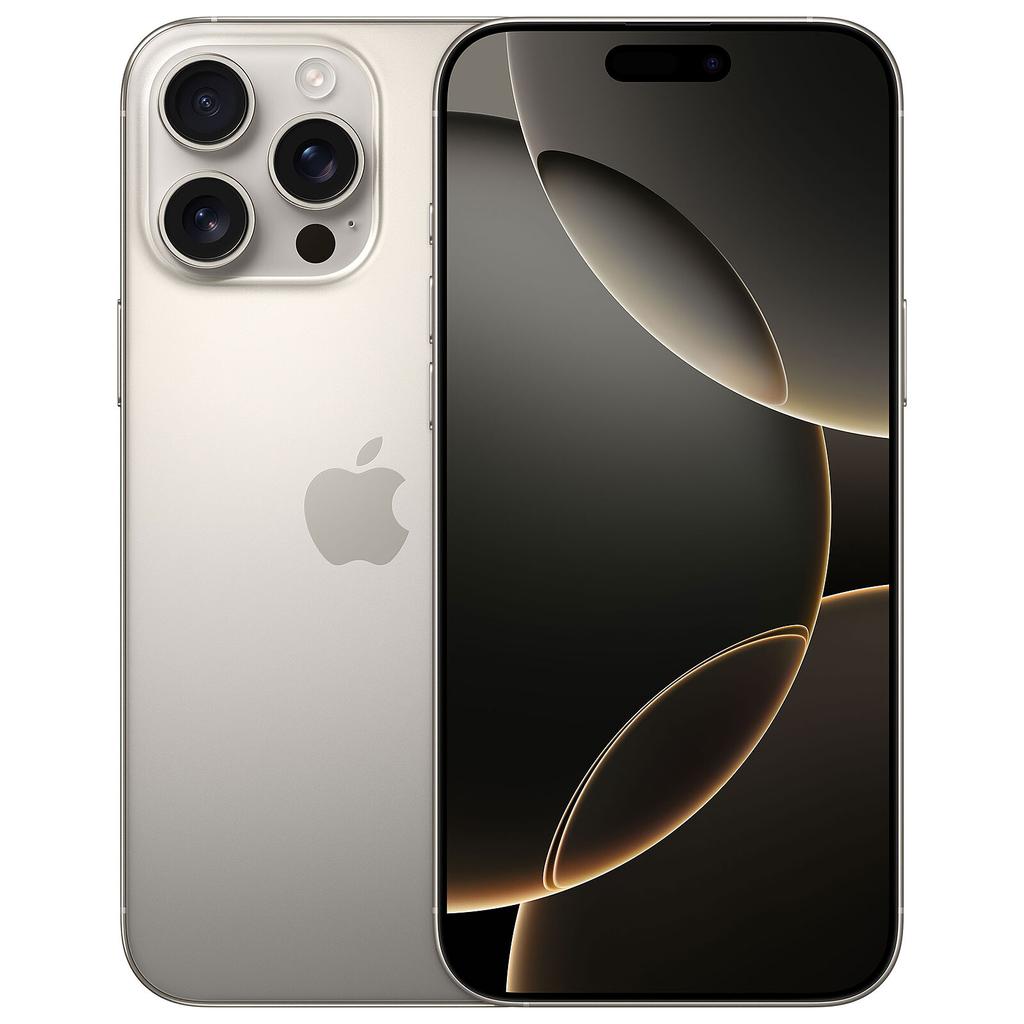
If you want the best camera system Apple has shipped, the iPhone 15 Pro Max is the answer. The 5x periscope telephoto lens, the A17 Pro chip's hardware ray-tracing capability, and the titanium chassis represent the peak of what iPhone hardware delivers. It also shoots Apple ProRes video natively — relevant if you create content for YouTube, TikTok, or professional use. Check our guide to iPhones for video recording for a full breakdown of its video capabilities. In refurbished stock, the Pro Max becomes accessible at a price that makes the performance-per-pound calculation hard to argue with.
Browse iPhone 15 Pro Max deals →
The iPhone 14 and 14 Plus are the sensible budget picks. The A15 Bionic chip still performs well in 2026, the camera system handles everyday photography without compromise, and both models have several years of iOS support remaining. The Plus model in particular offers a large 6.7-inch display and excellent battery life at a price point where it represents one of the strongest affordable iPhone deals in the refurbished market. Neither model has the Dynamic Island or USB-C of the 15 generation, but at the prices they command second-hand, those omissions are easy to accept.
Browse iPhone 14 Plus deals →
The iPhone 13 series runs the A15 Bionic and still carries a reasonable remaining update window. However, as the 15 series continues to drop in price in the refurbished market, the gap between 13 and 15 pricing is narrowing. Only buy a 13 if the price is meaningfully lower than an equivalent 14 — otherwise step up.
The iPhone 12 is the absolute floor for a refurbished iPhone purchase. It still runs iOS 18, but its support window is closing. Treat it as a stopgap device only — suitable for a secondary phone, a child's first smartphone, or a very tight budget. Do not buy an iPhone 12 if you plan to rely on it as a primary device for more than 18 months.
iOS 18 dropped support for the iPhone 11 and everything older. These devices will not receive security patches going forward. Do not buy them as a primary device under any circumstances.
Have questions about the buying process? The refurbished phone FAQ hub covers the most common concerns in detail.
Buy a refurbished iPhone 15 for the best overall value, or a refurbished iPhone 15 Pro Max if camera performance and chip power are the priority. The iPhone 14 and 14 Plus cover the budget tier convincingly. Avoid anything older than the iPhone 12, and treat the 12 itself as a short-term purchase only.
The refurbished iPhone market rewards buyers who focus on software longevity and battery health above cosmetic condition. Get those two variables right and a refurbished iPhone will outperform most new Android alternatives at the same price — and keep doing so for years.
The best time to buy a refurbished iPhone is in the six to ten weeks after Apple announces a new iPhone generation — typically September to November. Trade-in volumes spike as current owners upgrade, which floods the refurbished market with near-new units and pushes prices down 15–25%. The iPhone 15 series saw exactly this pattern after the iPhone 16 launch. Set a price alert on Back Market or Reboxed and wait for that window.